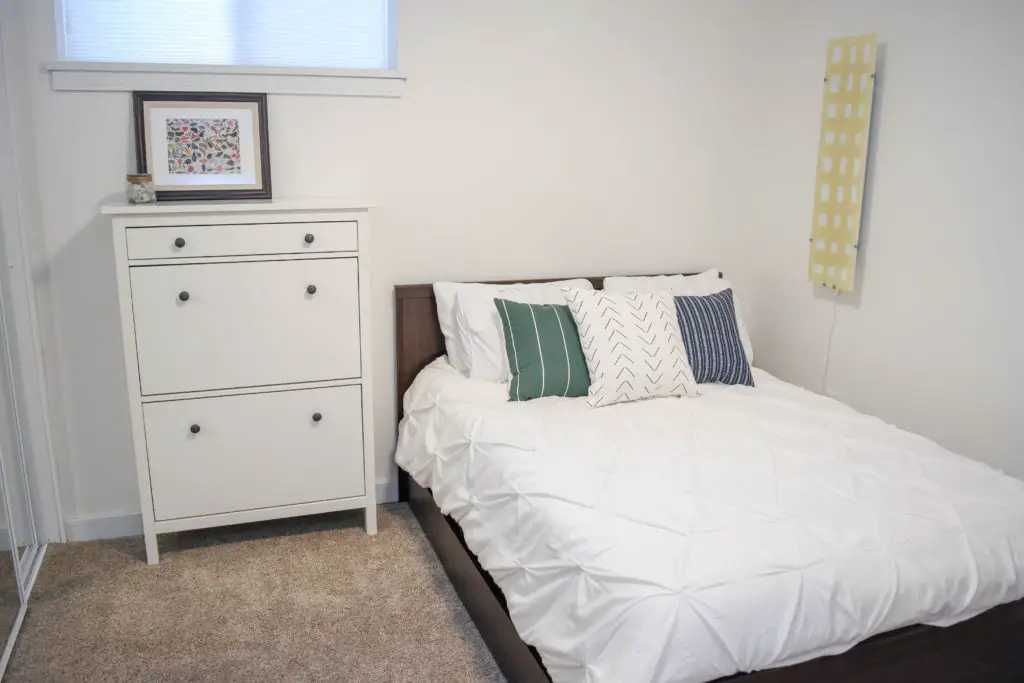
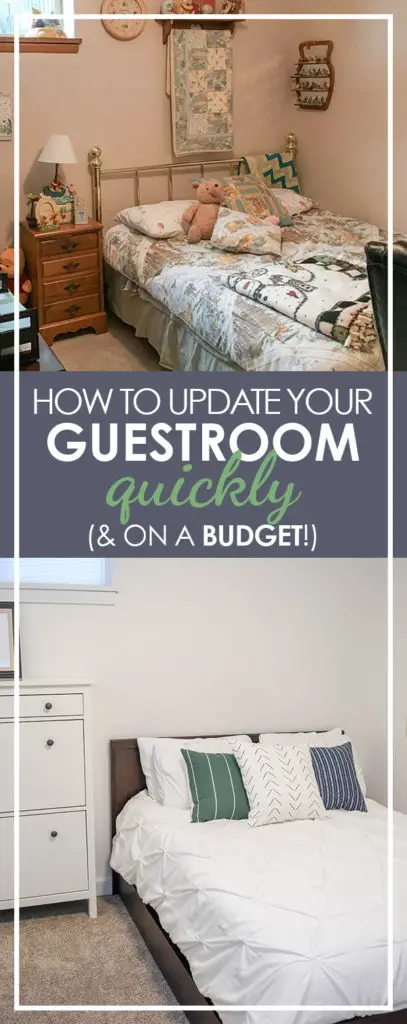
Our tiny guest room was remodeled on a tight budget by transplanting carpet, furniture, and decor from other areas of our home.
DISCLAIMER: This post contains ads and affiliate links. At no additional cost to you, we may receive a commission for purchases made through these links and ads.
We have a pretty tiny basement bedroom in our new home. But with a bathroom next door and overall privacy from the rest of the home, it makes for a great guest room.
And while I was super excited to be installing hardwood floors as a part of our upstairs living room remodel, I was a little sad at the idea of parting with the super plush carpet. So when the quote to replace the guest room carpet came in at $900 – we made an easy decision to transplant the living room carpet and kickstart our guest bedroom remodel.
The first step was removing the existing carpeting and prepping the underlying linoleum tiles floors for their upgrade.
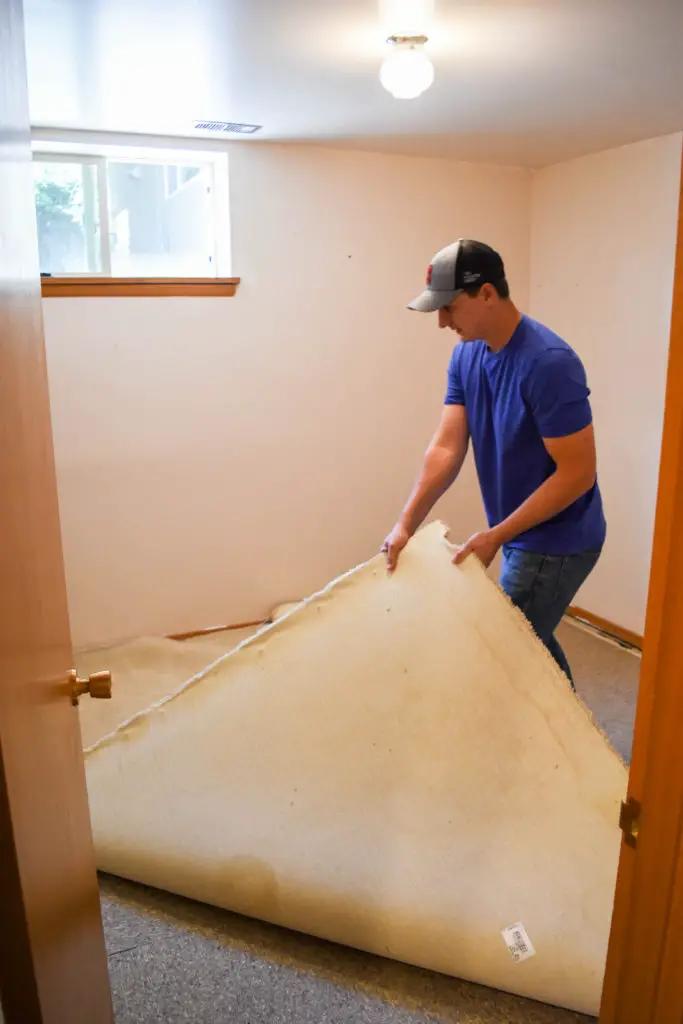
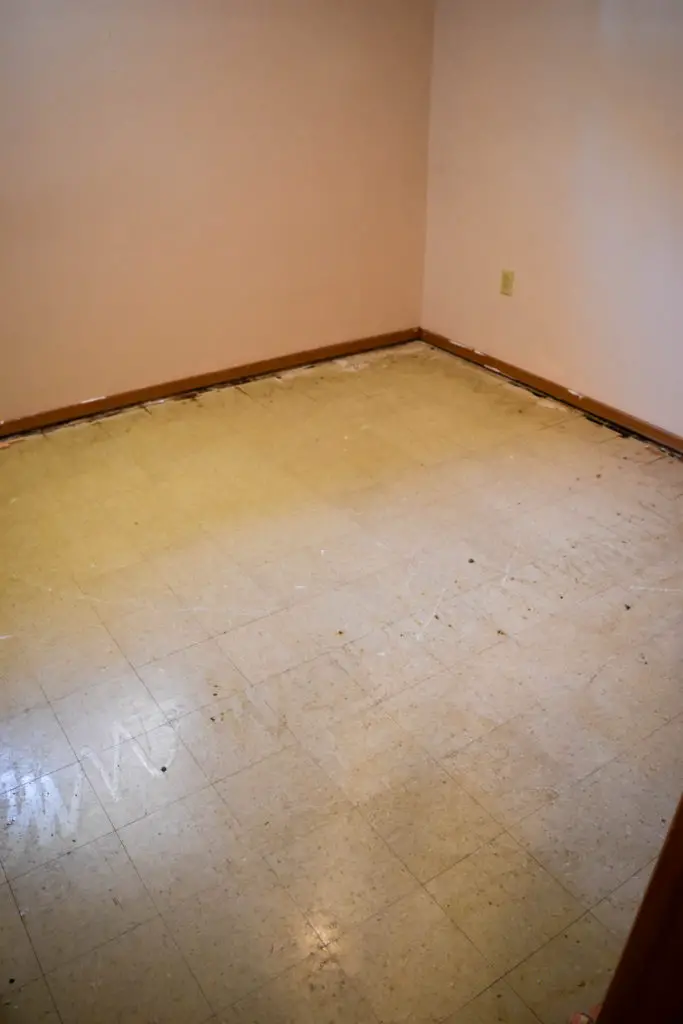
The original linoleum tiles floor were in relatively good shape so there really was no need to remove them. But because a few areas around the edge were a bit beat up, we decided to apply a few coats of primer to seal everything in.
I also took the opportunity to paint the ceiling and the walls. Let me tell ya – painting a room without any care for the floors is liberating!
Once the paint was fully dry we moved on to installing the pad (transplanted from the living room). Most of the tack strips were in good shape and any loose ones were replaced (about two inches from the wall). We cut the pad just slightly larger than the room, put it in place, and then trimmed along the inside of the tack strips with a utility knife.
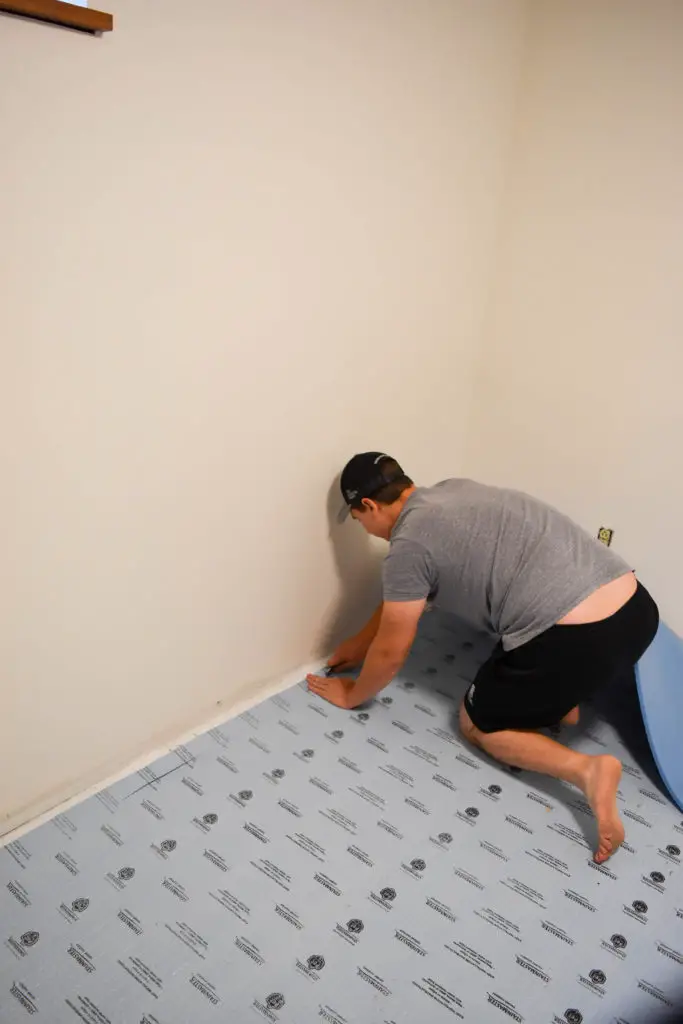
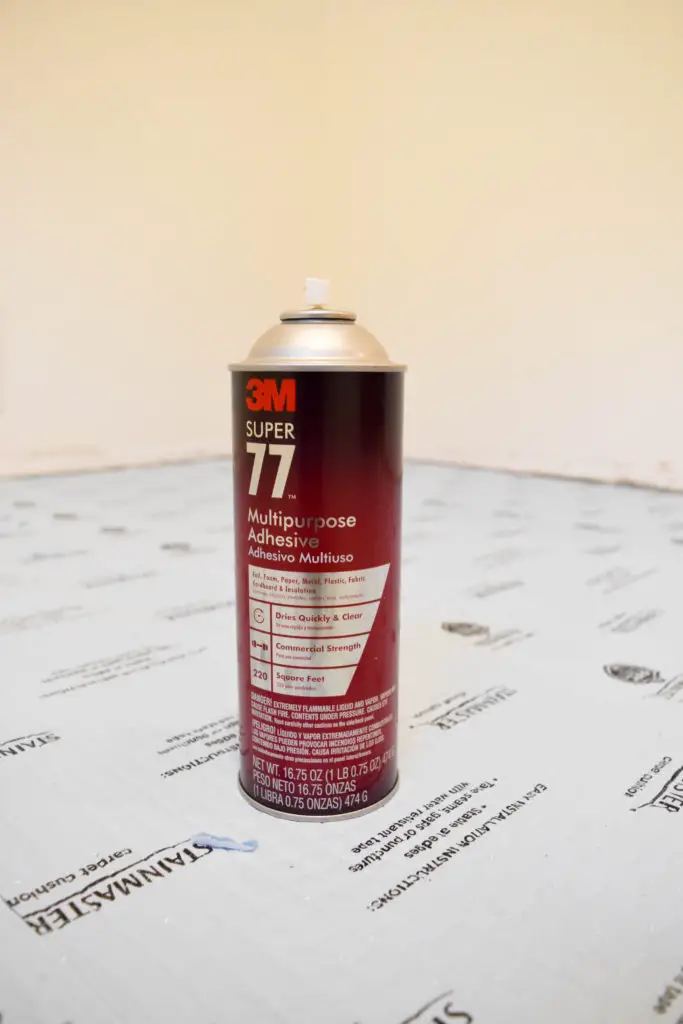
After the pad was cut to size, we rolled the pieces back and applied a multipurpose spray adhesive to the floor.
And finally, with the pad in place, we awkwardly carried/shoved/pivoted a large roll of carpet down the basement stairs. Trimming the carpet to size took a few cuts. At first we had about a foot extra in all directions. I gradually trimmed that down to just a couple of inches, making it much easier to manage.
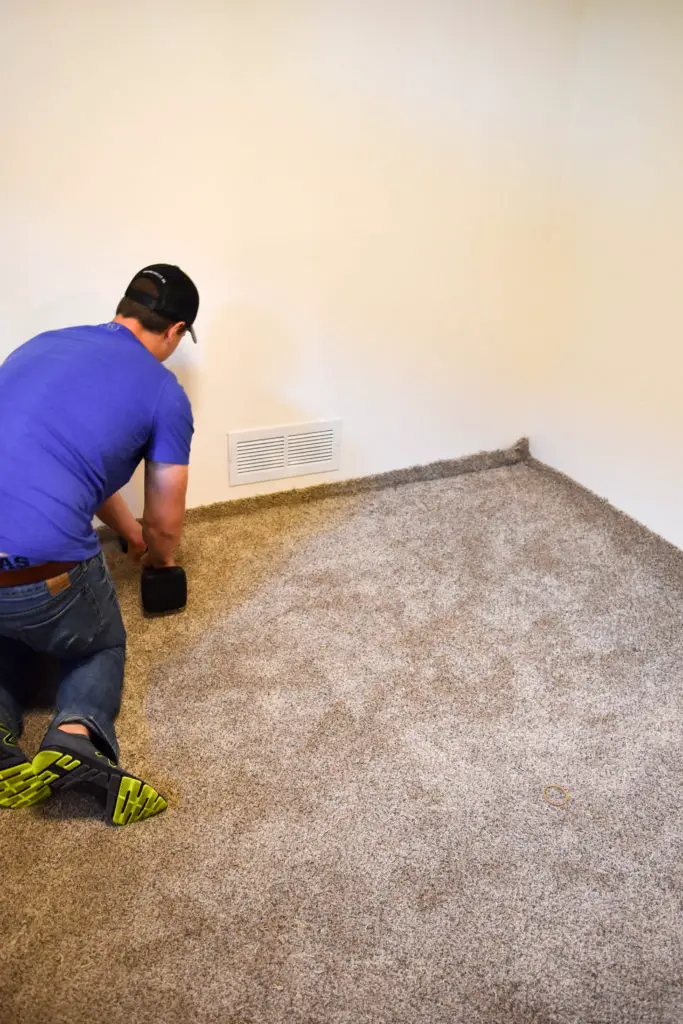
With a ~$20 rented carpet kicker, Eric finished up the install. Stretching the carpet over the tack strips was probably the quickest part of the whole job. I’d recommend checking out some Youtube tutorials – it’s not as daunting as it seems!
Once we were satisfied with the fit we did a final trim of any excess carpet.
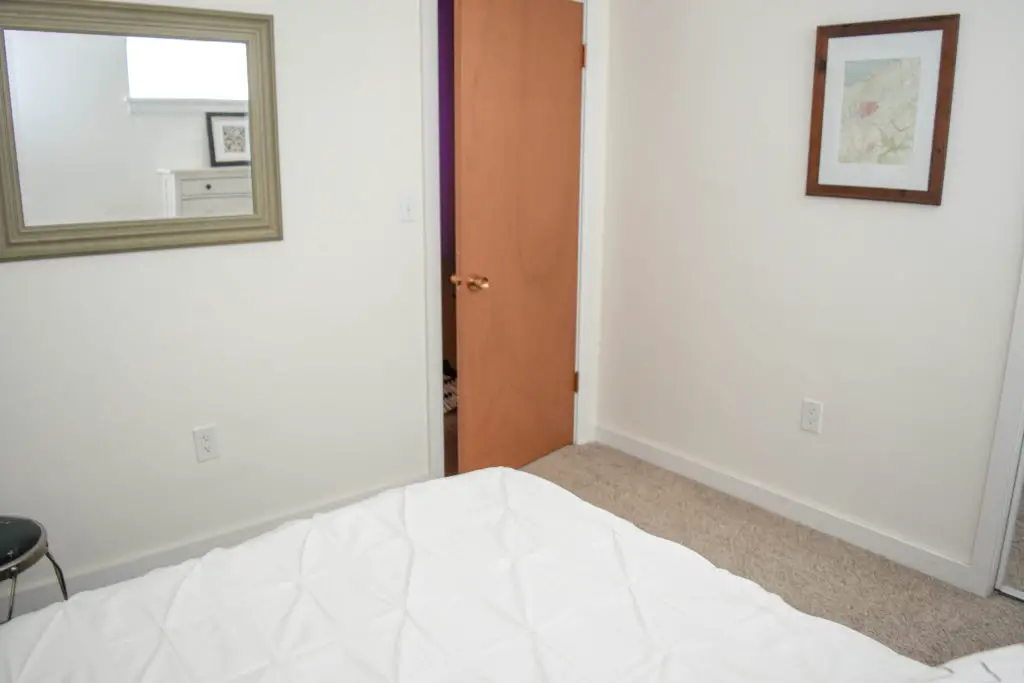
While the carpet was “borrowed” from the living room, the trim we installed was 100% new. But I have to be super honest with you about this part…There are some projects where I stand back and pat myself on the back. And there are also some projects that I later think to myself “did you honestly have nothing better to do?” The guest room trim was one of those things.
To set the stage, I was smitten with some contemporary trim styles on Pinterest that had a simple routed groove. But rather than forking over the money for fancy trim, I bought MDF and hand-routered the groove. Everything turned out great (IMO), but I really don’t think I got a good visual return on my time investment. As Eric said (over and over), “It’s just trim.” So, take a tip from me and just install regular trim!
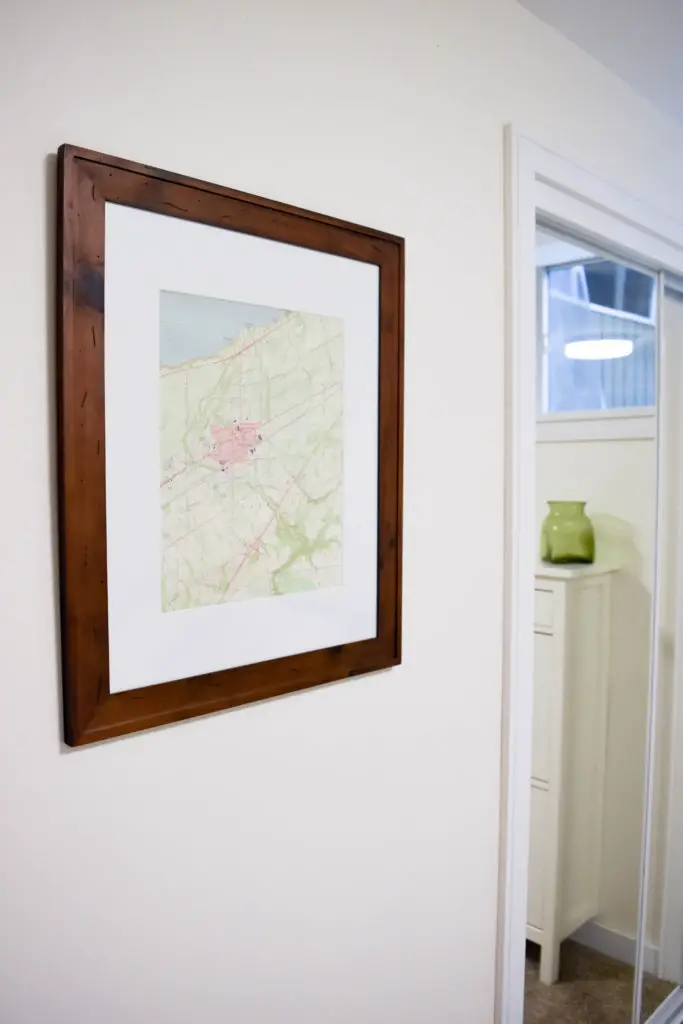
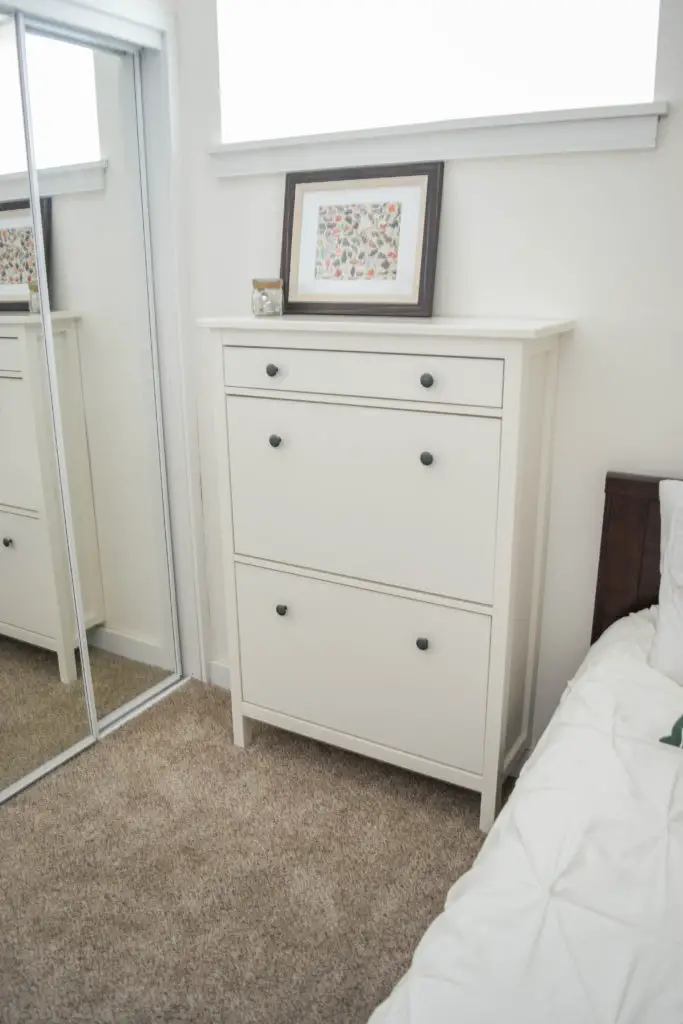
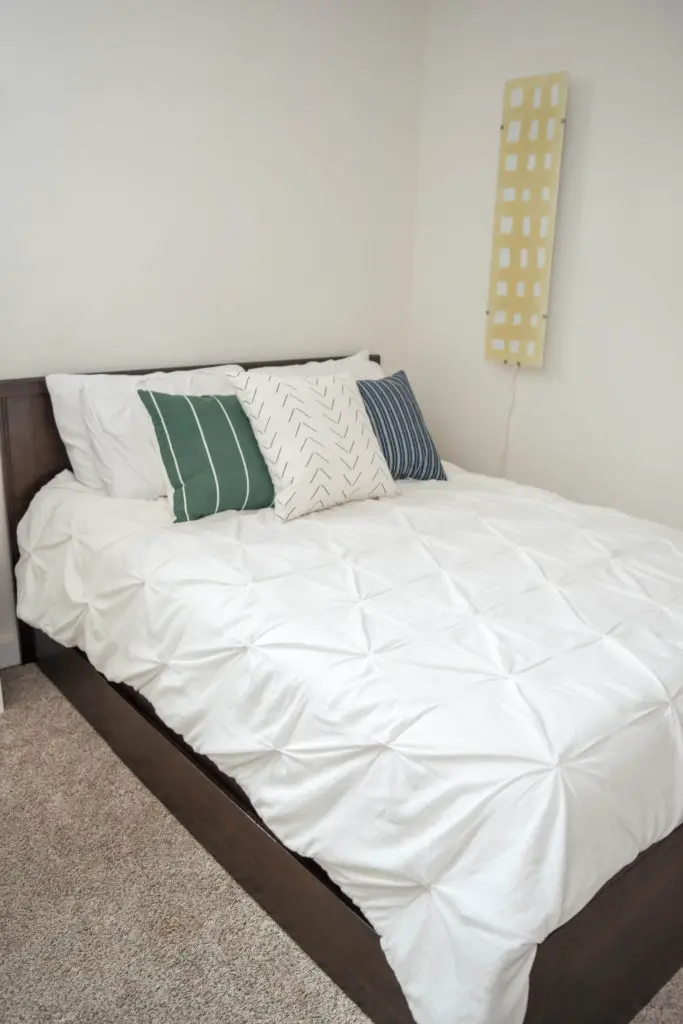
After the time-consuming trim project was complete, and the new mirrored closet doors were installed, we moved the furniture in. Much like the carpet, most of the pieces were from other areas of the house. Aside from the closet doors, paint, flooring adhesive and trim, the only thing we bought was the light fixture (Costco FTW!).
This is obviously not the most exciting reveal. But I can get easily carried away on a remodel, especially in smaller spaces where a dollar seems to go further (and I was really tempted to do just that with this space). So on a budget of ~ $350 I’m pretty pleased with how our guest room turned out. And now we can put the money we saved into other areas of our home!
