If there’s one thing that makes our DIY playhouse ‘modern’ – it’s the roof. Installing the mono-pitch and Suntuf panels had its challenges, but the result was so worth it!
DISCLAIMER: This post contains ads and affiliate links. At no additional cost to you, we may receive a commission for purchases made through these links and ads.
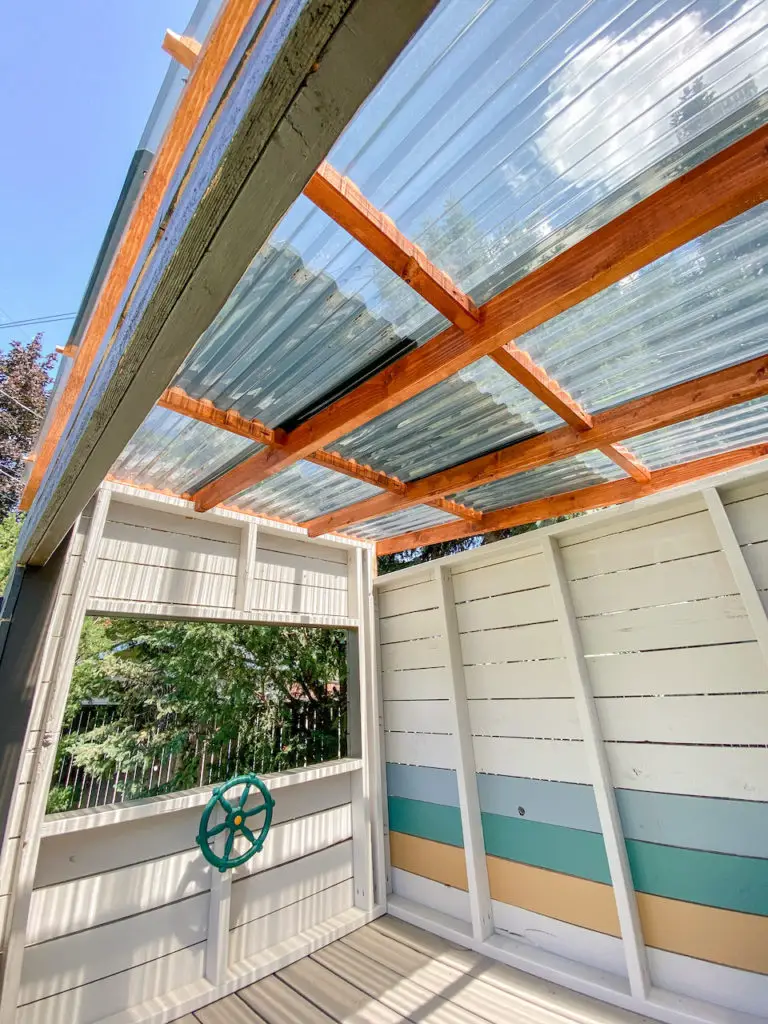
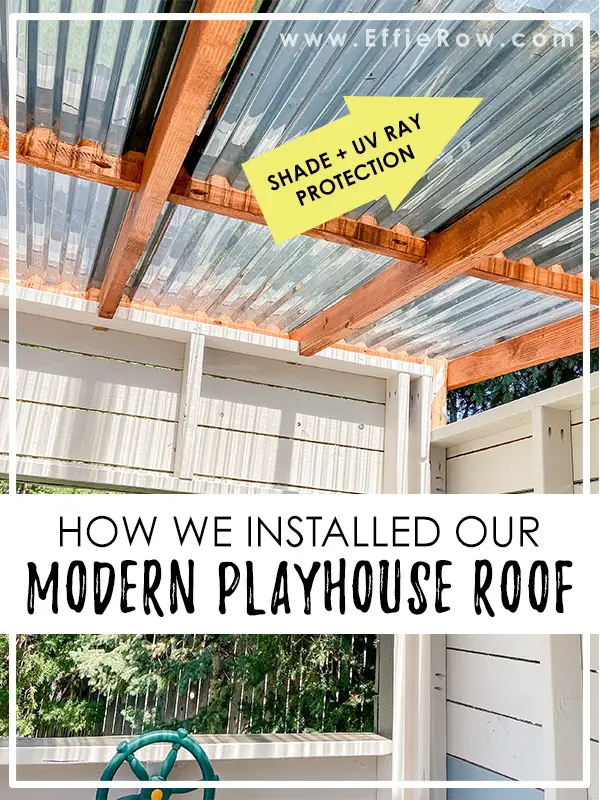
After the deck and walls of the playhouse were assembled, we started on the playhouse’s modern roof. From the beginning, I was inspired by Houseful of Handmade’s playhouse. I especially loved the roofing material she chose – it’s made by SunTuf and it reminds me of a giant sunglass shade. It allows for a view of the sky while providing some shade and blocking harmful UV rays.
But before we could install the Suntuf roof, we built a frame using the following materials:
- 2 – 2×4 @ 10″ (pocket holes one end)
- 4 – 2×4 @ 10′
- 8 – 2×2 @ 20″ (pocket holes both ends)
- 4 – 2×1 @ 21″ (pocket holes both ends)
- 24 – 2.5″ Kreg Jig screws (Blue-Kote)
- Approx. 16 – 2.5″ decking screws
- 2 – small corner braces (optional)
SHOP THE POST –
DISCLAIMER: This post contains a description of our building process. I cannot make guarantees regarding the safety of this play structure. Before building, please consult with a professional regarding materials and weight limits.
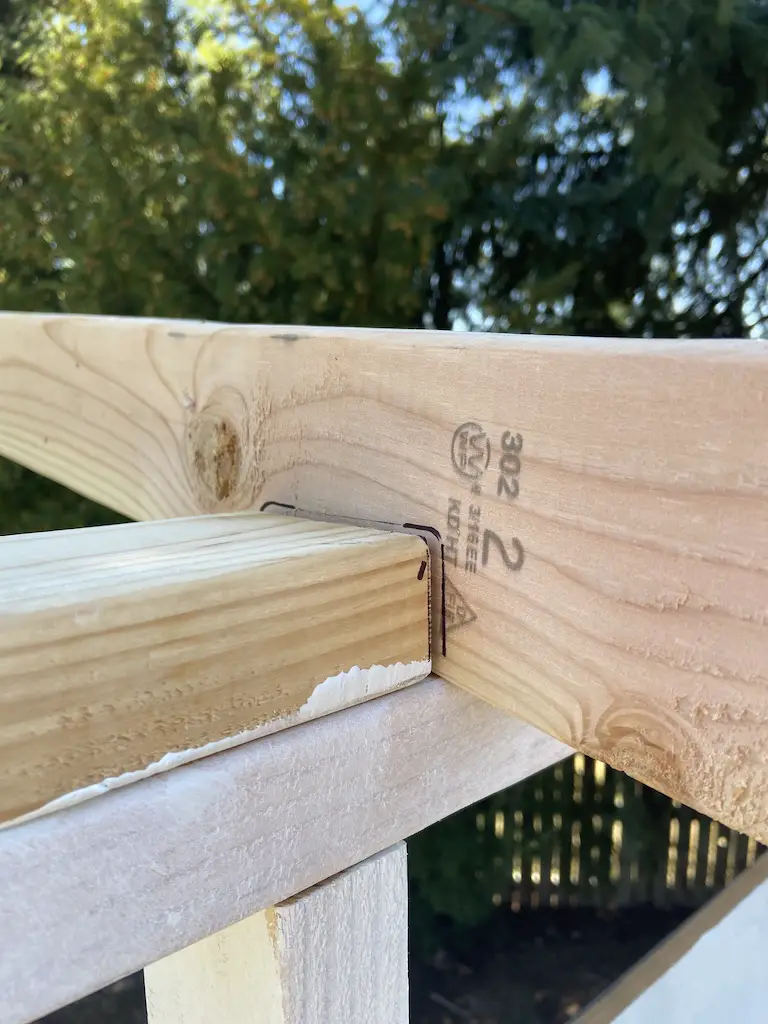
The first step was to notch out the center two 10′ beams so that they would nest with the walls. To do this, we set one of the beams where we intended it to go (more overhang for the window wall) and then placed a scrap piece of 2×4 next to the beam so we could mark the area that needed to be notched. We did this on both ends of one beam and then used a jigsaw to make the cuts. We used the notched beam as a template for the 2nd center beam.
Once the two center beams were notched, I assembled most of the frame upside down on a flat surface (our garage floor). Using pocket holes and 2.5″ Kreg Jig Blue Kote screws, I attached the middle six 2x2s (green in the photo below) to the four 10′ 2×4 beams (dark gray). The center row of 2x2s was 21″ and the outer rows were 20″.
The tops of the 2x2s were flush with the tops of the 2x4s for the eventual installation of the Suntuf material. I checked numerous times to ensure that the inside width of the roof matched the outside width of the playhouse (64″).
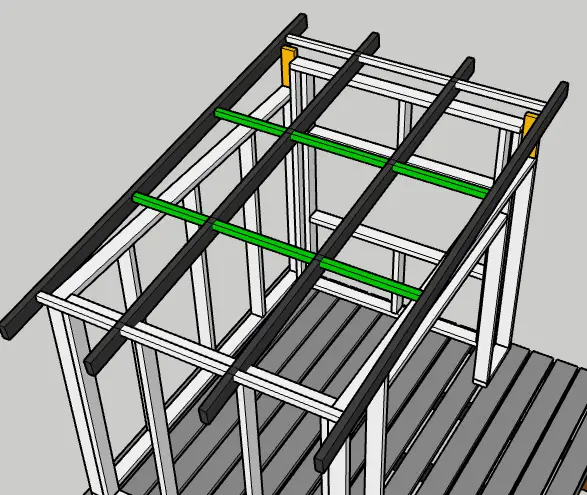
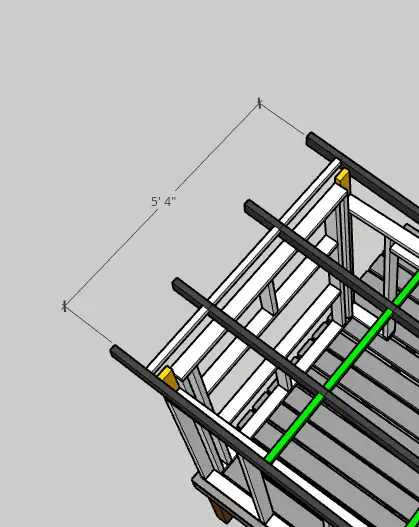
Before we put the roof onto the playhouse, I added 10″ 2×4 pieces (yellow in the photos) to the front and back walls. These would later be used to attach the outer 2×4 beams.
Next, Eric and I awkwardly hoisted the partially-made roof frame into place so that the notched 2x4s nested with the tops of the walls. We used a level to line up the inner and outer 2x4s. The outer 2x4s were attached to the walls with several 2.5″ decking screws. The inner 2x4s were secured with a mix of corner braces and 2.5″ decking screws. Lastly, I added the rest of the 2x2s overhanging the outside of the walls about halfway.
Installing the roof frame was the most difficult and awkward part of building the playhouse (IMO). I’m sure there are easier ways to do it, but alas, we did it. And with the frame installed, we could move on to installing the Suntuf roof!
We used the following materials and equipment to install our Suntuf roof:
- 6 – Suntuf roof panels (26″ x 6′) in Solar Grey
- 12 – Wood horizontal closure strips
- Approx. 40 – 1″ wood screws
- Approx. 48 – 2″ Woodtite fasteners
- Cordless drill + drill bits for screws and fasteners
- Rivet gun
The first step in installing the Suntuf roof was adding wood closure strips to the 2x2s with 1″ screws. Suntuf recommends both vertical and horizontal closure strips (two different types), but we opted to only use horizontal strips.
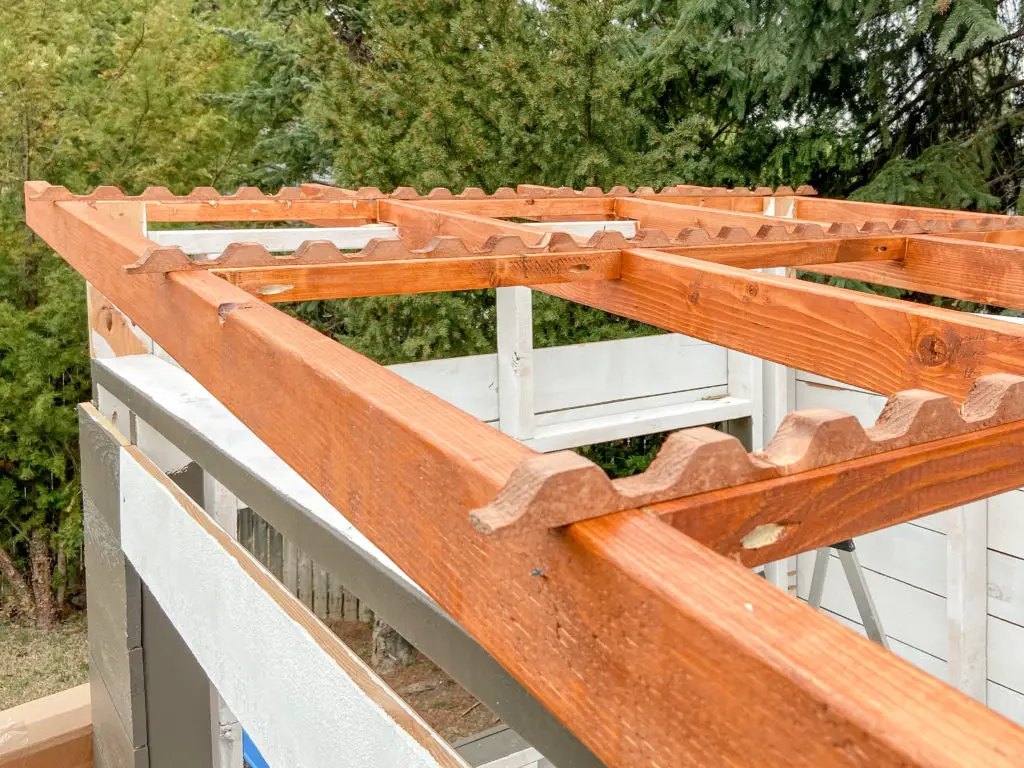
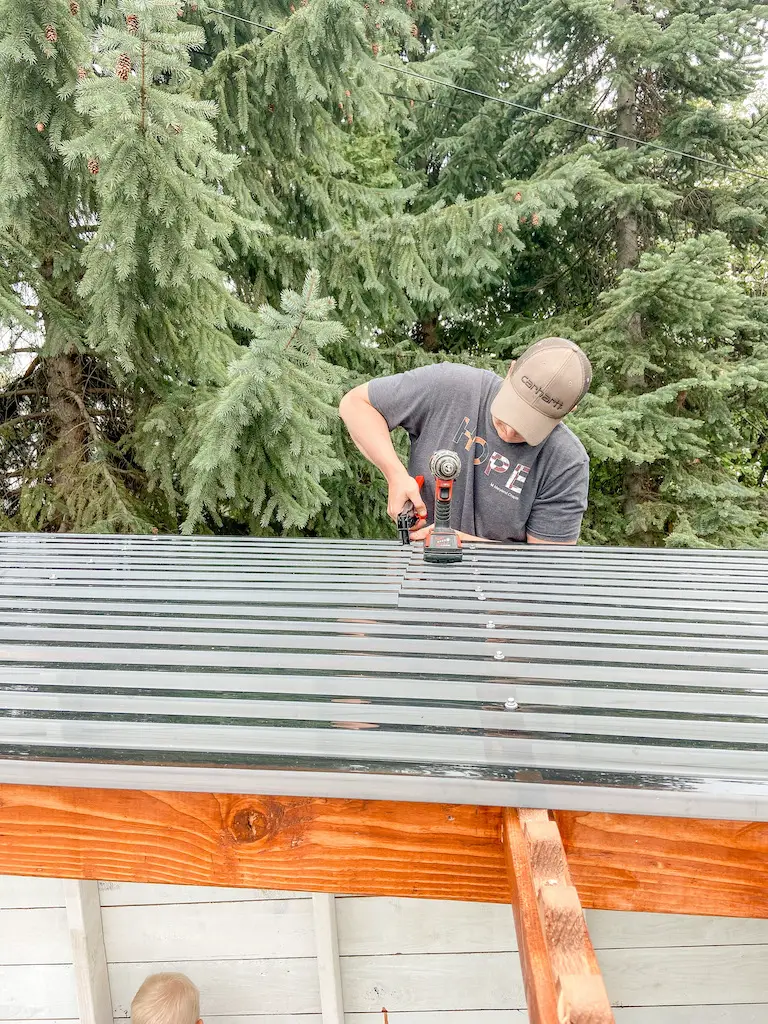
After the horizontal closure strips were secured, we installed the Suntuf panels. The panels were attached to the closure strips with the Woodtite Fasteners. We opted not to trim either of the panels (somewhat out of laziness) which left us with more overlap between the panels. To date this hasn’t caused any real issue though.
In a couple of spots, the overlapping panels were more separated than we liked, so Eric used a rivet gun to fasten them together. This definitely is not something recommended by Suntuf and I was so nervous the panels would crack. But Eric tested it out a couple of times on other materials first and it wound up working quite well!
We have had the playhouse roof installed for a little over a month now and it has held up perfectly in some pretty significant rain and wind storms. In addition to its functionality, I love that it adds to the overall style of the playhouse.

Hi Kate! Your playhouse is beautiful. Thanks so much for sharing! Question — how do the SunTuf panels do with heat? We live in Florida, and are wondering if they’d make our little playhouse too hot (the area gets some shade depending on the time of day, and I love the idea of letting light in but I am a bit worried about the heat). Thanks so much for any insight you could offer!
Good question! Our climate is high desert, so it’s in the 90s and 100s in the summer but it’s a dry heat. The panels provide good shade and don’t increase the temp in the playhouse at all (which makes sense since they are designed for patios). The shade it provides is noticeable, but obviously nowhere near the relief that would be provided by a solid roof. My biggest mistake was facing the door/opening of the playhouse west – so it gets direct afternoon sun into the playhouse and then it’s not so comfy (I’ll probably add a curtain/doors at some point).