Painting the interior of our modern playhouse provided the opportunity for some added character and color. I also used paint samples to create some retro (and budget-friendly) accent stripes.
DISCLAIMER: This post contains ads and affiliate links. At no additional cost to you, we may receive a commission for purchases made through these links and ads.
After the exterior siding was installed and painted, I moved on to painting the interior. If you recall from previous steps, I did a lot of “pre-priming” before things were assembled. This may seem tedious, but I really think it saved me a lot of time when painting the interior.
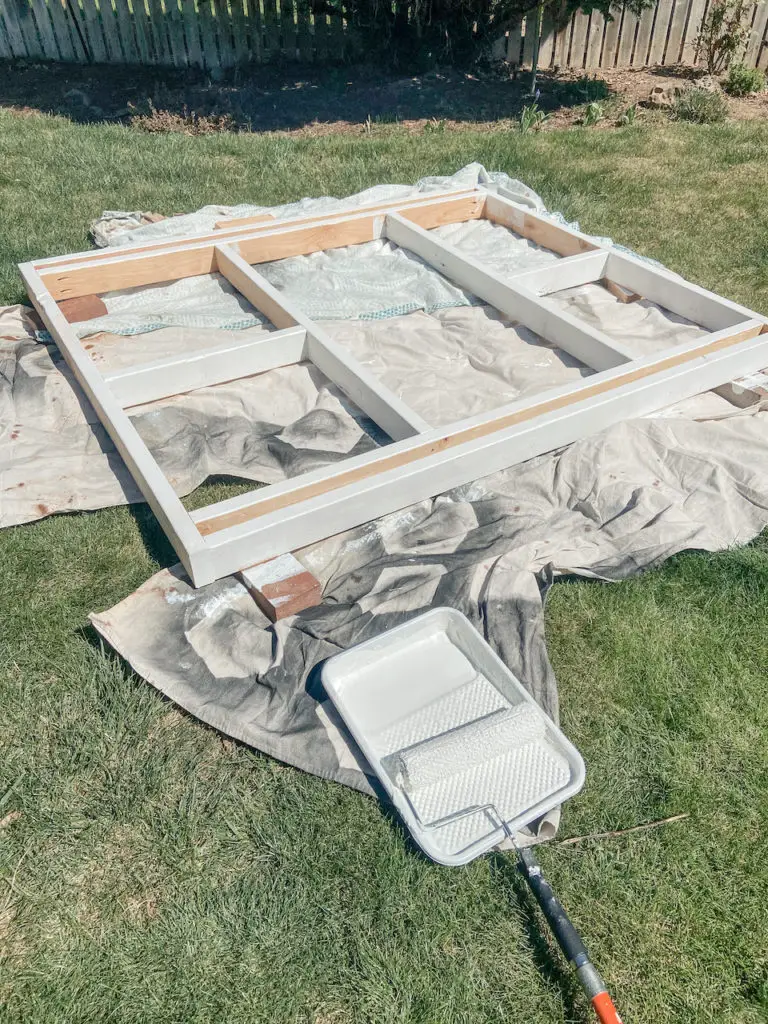
In retrospect – I highly recommend that you prime as much as possible before the structure is fully built (within reason of course!).
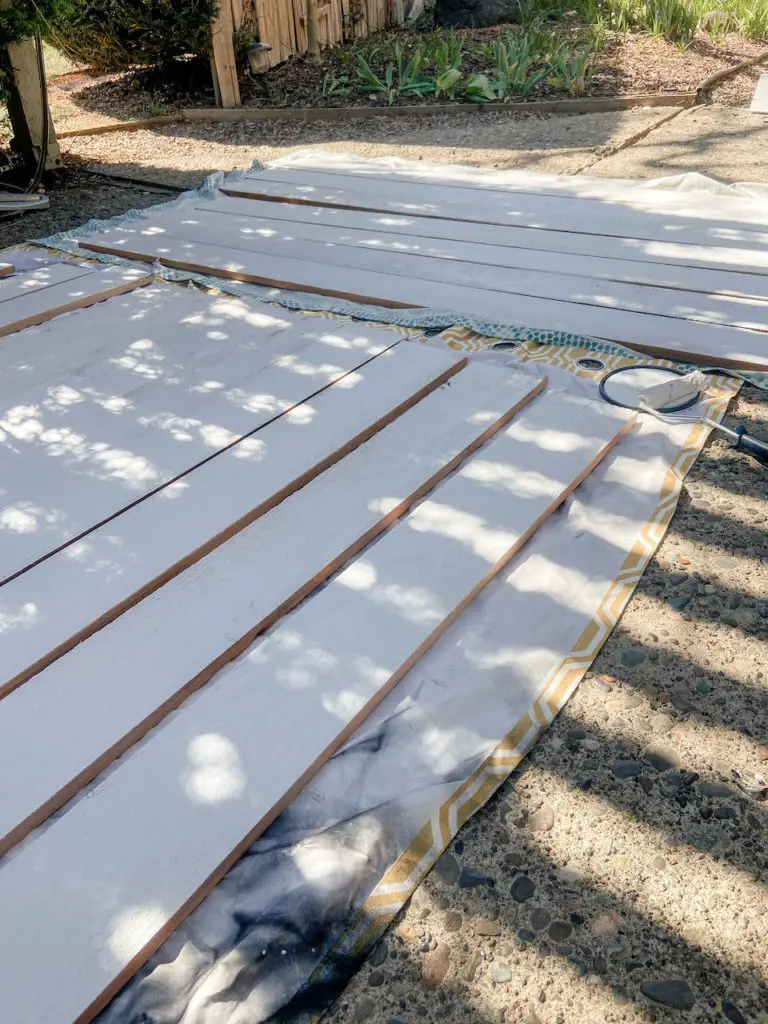
The interior was painted with Sherwin Williams A-100 Exterior paint in “Alpaca.” I am now fully obsessed with this paint color. It’s a beautiful neutral, beigy-white on the cool spectrum (if that makes any sense). It has enough depth that it’s not glaringly bright in the sun. The whole time I was painting I kept thinking what a great shade of white it would be for the exterior of a home.
SHOP THE POST –

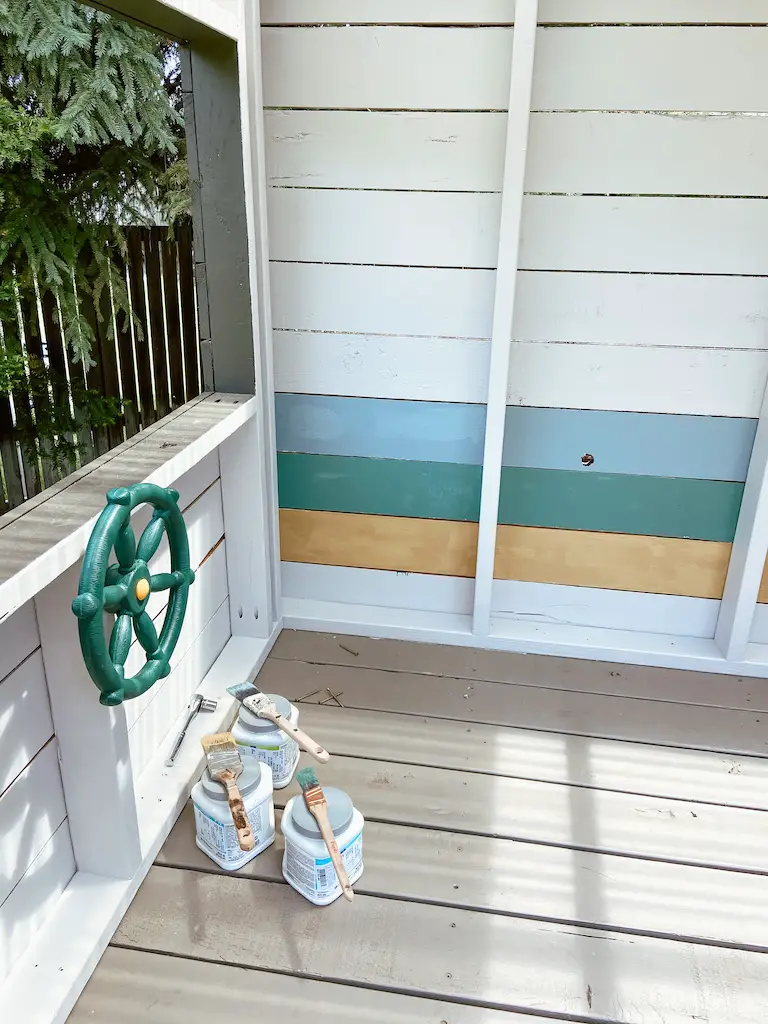
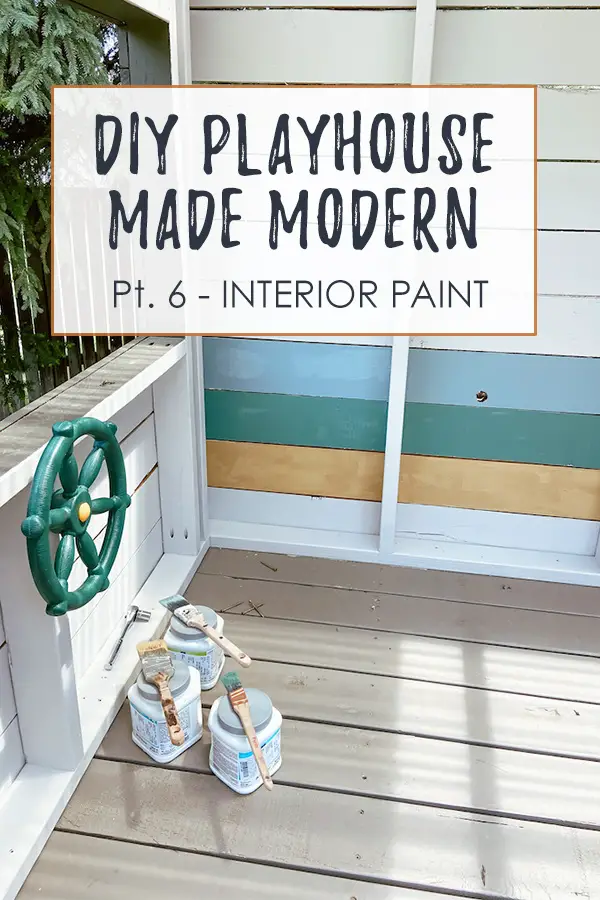
After the interior paint was dry, I quickly moved on to painting the accent stripes. I was going for a retro vibe, and I think I achieved it pretty well with three Sherwin Williams colors: “Debonair,” “Surf Green,” and “Mannered Gold,” (top to bottom).
Instead of paying ~$18 each for several quarts of exterior paint, I opted to get the small “Color to Go” paint sample pints. At $6 each, I honestly don’t mind if I have to repaint the lines every so often.
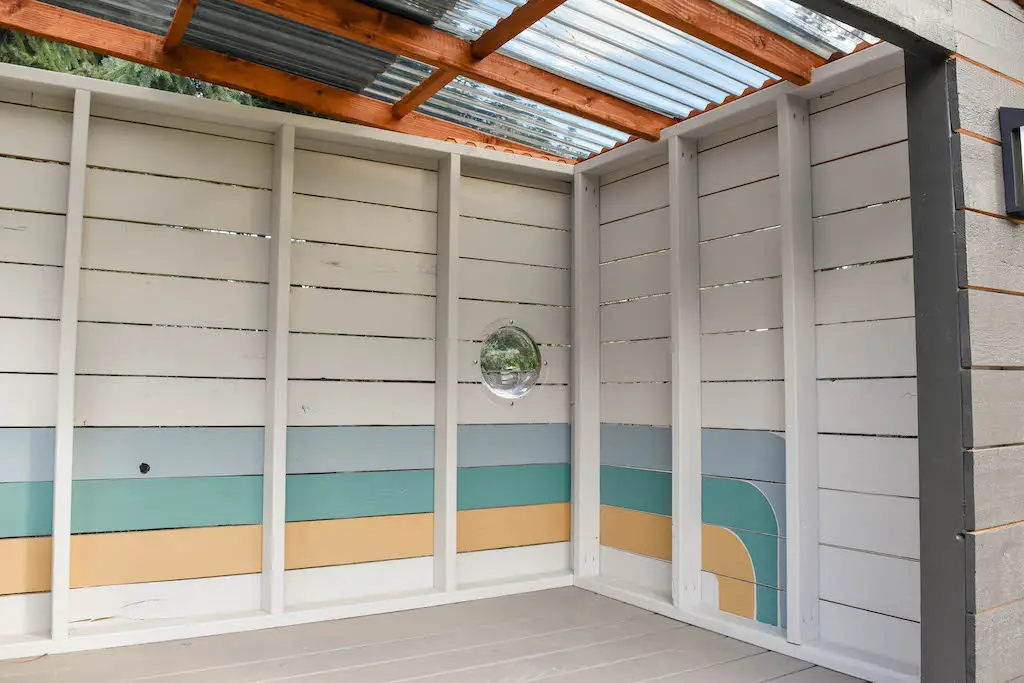
I only did the accent stripes on two of the walls (mostly out of laziness and not wanting to paint around all the 2x4s). On the side wall, I curved the stripes downward (using a pencil on the end of a string as my curved-edge guide) for an added element of fun/interest.
I’m happy to report that when E saw the finished stripes he pointed and said “whoa!” I think that’s about as good as a compliment as I am going to get from a toddler.
Painting the interior of the playhouse was a relatively quick and inexpensive way to give it some added character. The light interior and pops of color were just what the dark exterior needed (IMO).
Hi! We are thinking of building a playhouse and I love yours! And especially love your instructions! Any chance you know roughly how much you spent in building yours?
Thank you! I will eventually write up a more formal price list but I believe it came in around $950 for everything you can see in the photos. We purchased the lumber from a local supplier which saved us on cost. I was naive to think we were going to be able to do it for < $500 - hah!