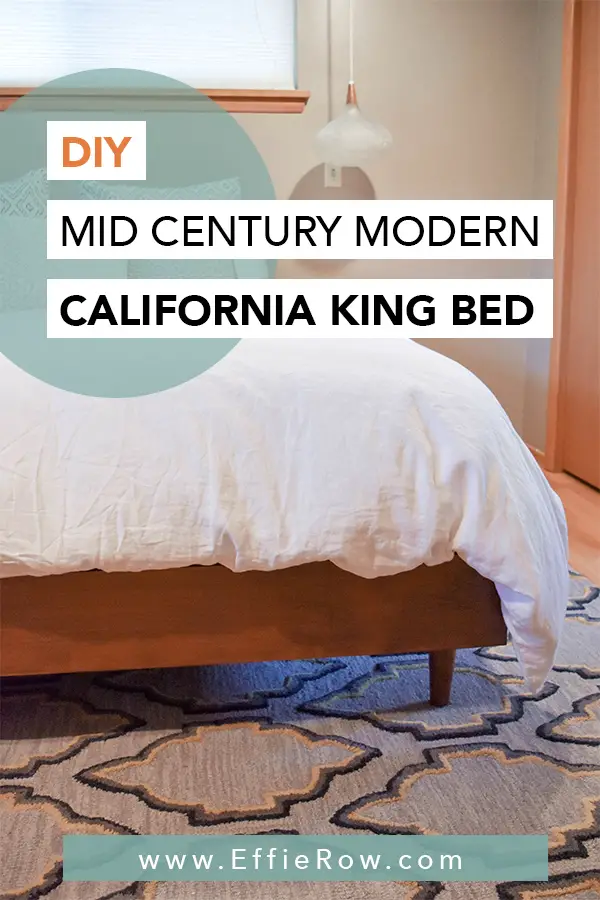
After endless online searches, building a DIY mid century modern bed was an easy decision. And fortunately, with the help of a Kreg Jig pocket hole system, it was also easy to make!
DISCLAIMER: This post contains ads and affiliate links. At no additional cost to you, we may receive a commission for purchases made through these links and ads.
A California King bed is something we have wanted for a long time. However once we realized how expensive a frame was going to be, building seemed like our best option. Of course I found this project to be the perfect excuse to finally get a Kreg Jig!
In terms of building materials, here was my supply list:
- Set of 4 tapered furniture legs from (purchased from DIY Upholstery Supply which no longer seems to be in business). The widest I could easily find were 2.5″ at their widest and 6″ tall
- Four leg mounting plates (similar to these)
- Four Hemlock (or other wood type) 1x8s for the face of the frame
- Five 2x4s for the interior frame
- Kreg Jig 1″ and 2 1/2″ course thread screws
- Corner clamps
- Handful of 2.5″ decking screws
- 8 adjustable furniture feet
Note: I’m about 99% this can be done with four 2x4s instead of five. However I somehow always manage to need that extra board.
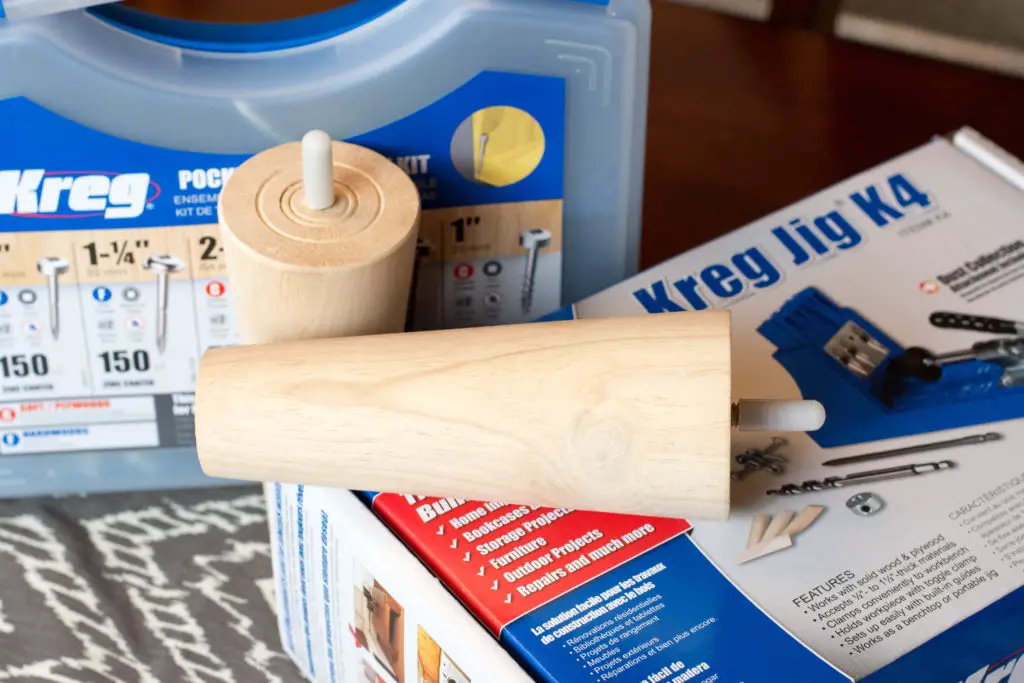
You can use any type of 1×8 for the visible sides of the bed. There are cheaper options than Hemlock, but I liked the even tone and that it doesn’t have any knots. For the 1x8s and the 2x4s, the price came out to be around $170. Your total could be much more or less depending on what type of wood you want to use.
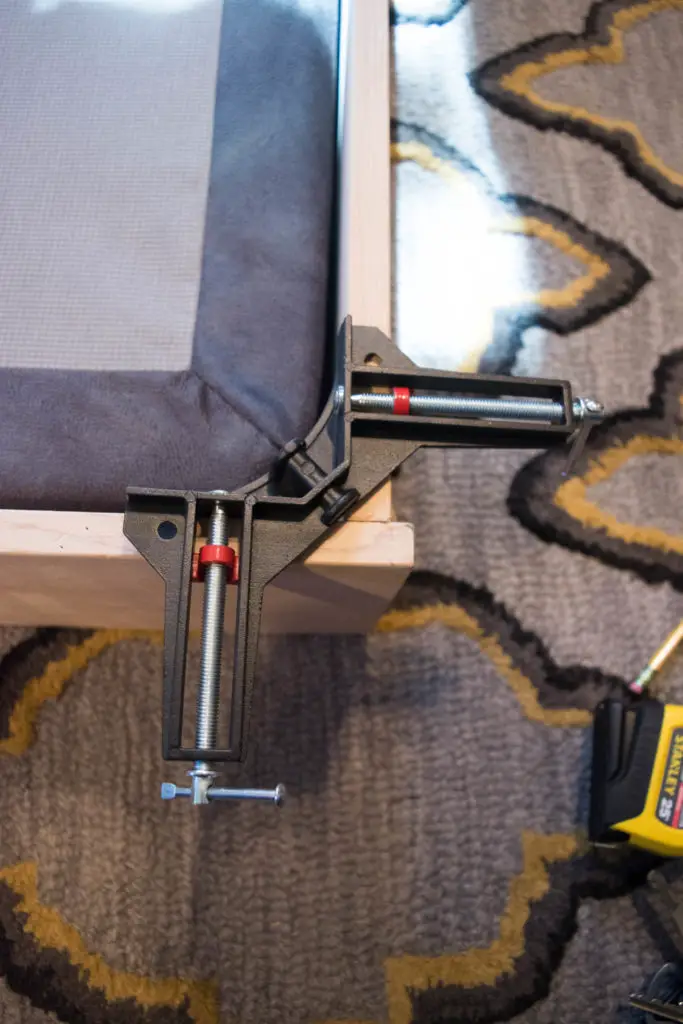
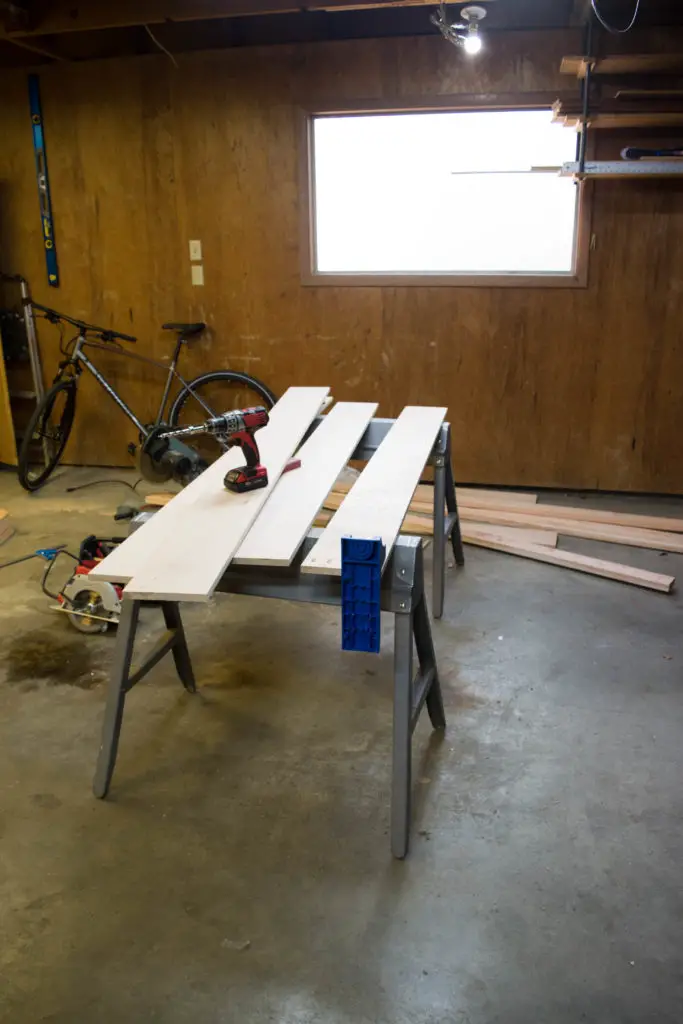
My method for cutting the boards to length was simple. The first thing I did was measure the length of the box spring, and then added an inch and a half (to allow for an easier fit and room for bedding). After the long boards were cut, I grabbed my corner clamps and lined up the boards at the head and foot of the bed. Once I was happy with the fit, I marked off the excess and trimmed them to size (above).
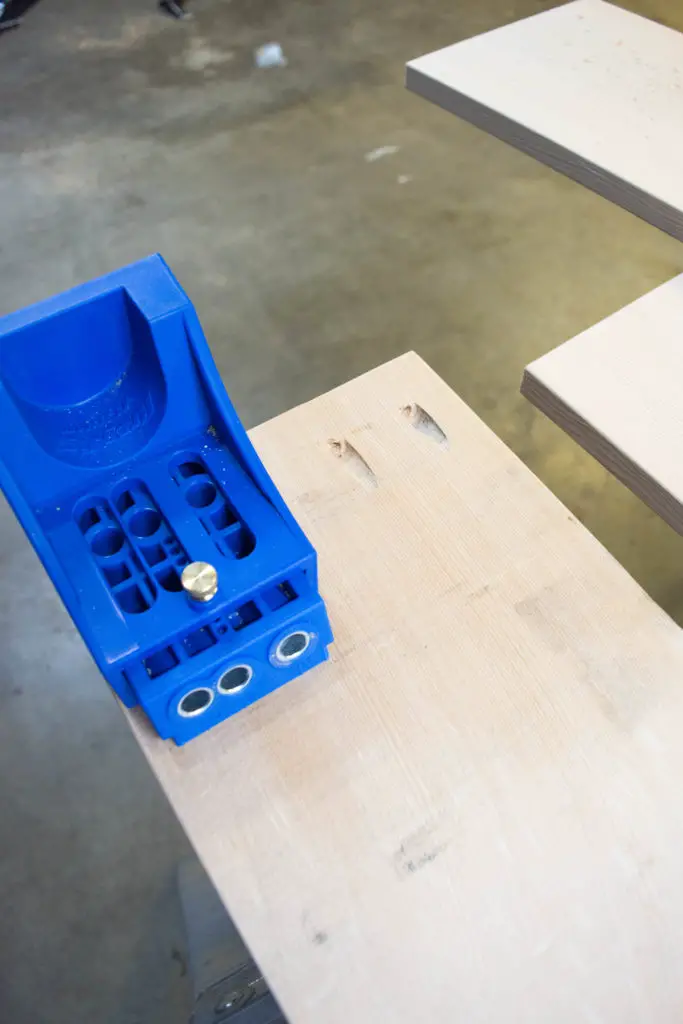
Then I got to bust out my brand-spanking-new Kreg Jig! If you are using a Kreg Jig for the first time, I highly recommend practicing on some excess boards to make sure your settings are correct.
Tip: Your Kreg Jig settings and screw length are based off of the thinner of the two boards you are joining. For this project, when you are screwing into a 1×8 (which is 3/4″ thick), use the 1 1/4″ screws and put your kreg jig settings at 3/4″. When the receiving board is a 2×4 (which is 1 1/2″ thick), use the 2 1/2″ screws and put your settings at 1 1/2″.
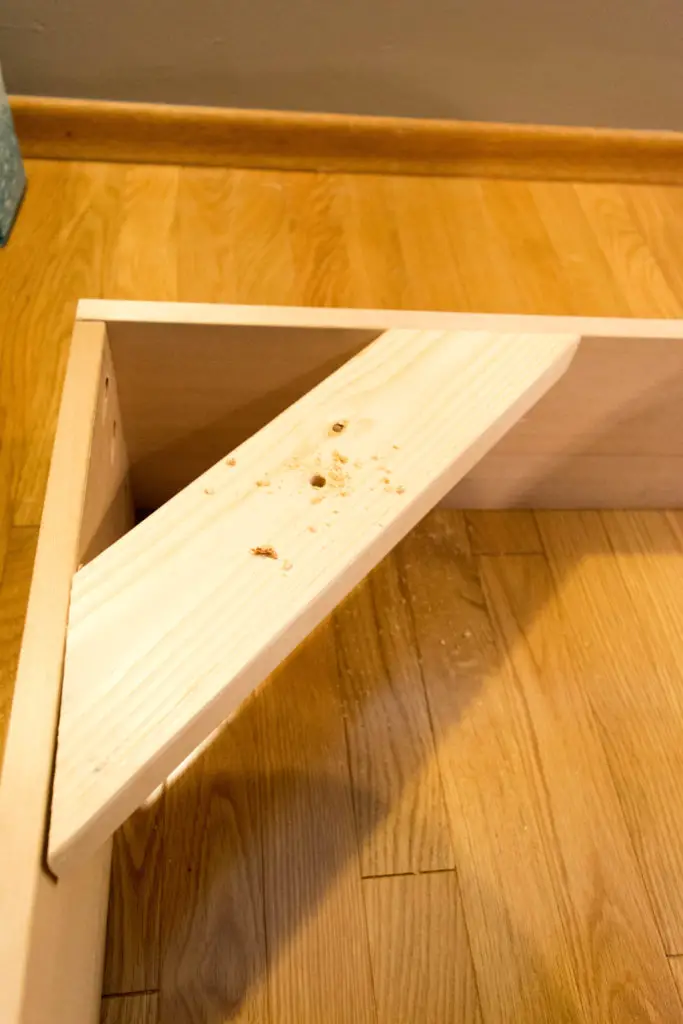
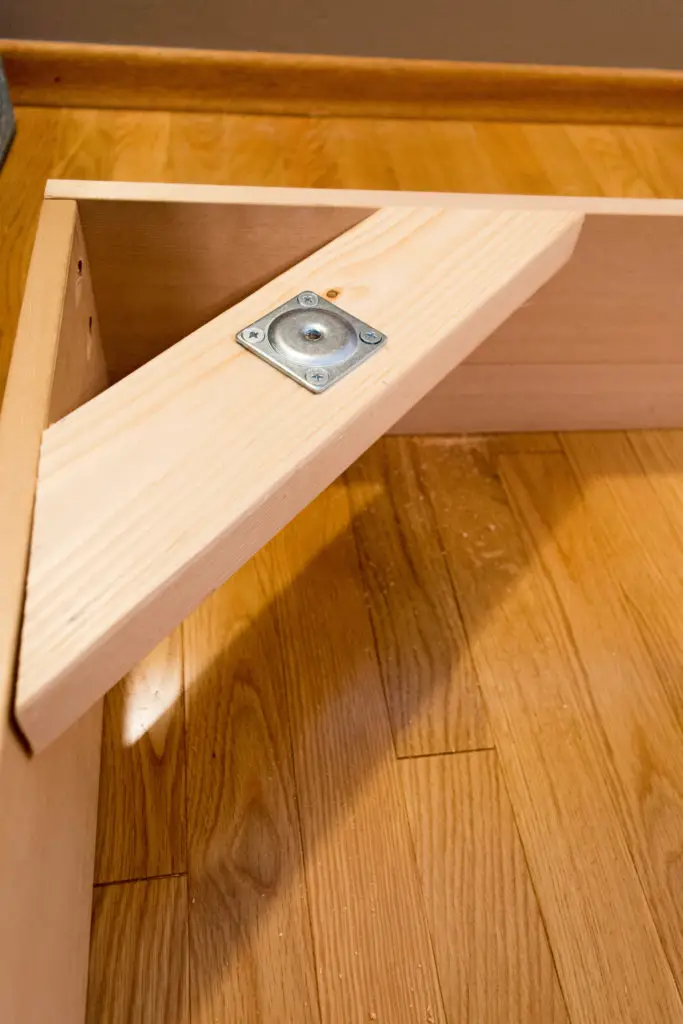
You only need to drill pocket holes in the boards that will not have exposed ends. For me, this was the long side boards. I assembled the bed in our room, but I don’t necessarily think you have to do it this way, depending on your situation. After the four sides were secured together (use corner clamps!), I reinforced the corners with diagonal supports, which is what the legs will be attached to. The picture below shows the bed frame flipped over (you’re looking at the bottom) as I was attaching the plates for the legs.
*Initially the inside length of the diagonal cut was 10″ (below), but you could hardly see the legs on the final product, so I went back and cut them down to an inside length of 5″.
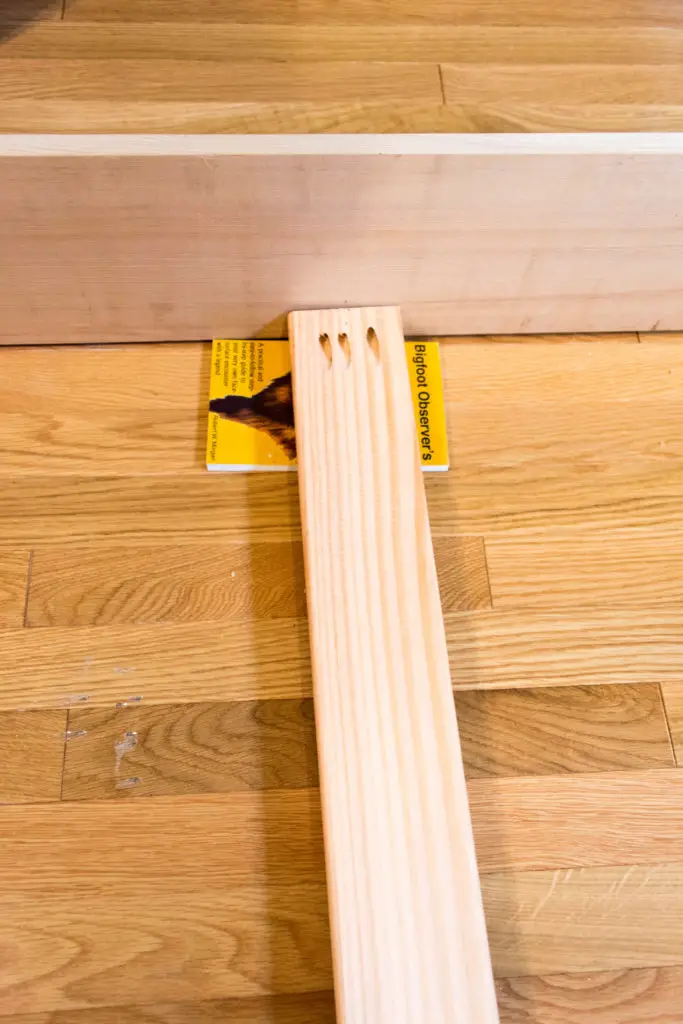
Next, I attached the cross supports. I flipped the frame right side up and cut three 2x4s to fit horizontally. I used a thin book as a guide so that the 2x4s would be recessed slightly and not visible from the side.
Our bedframe is built for a box spring, but if you are building for a platform bed, you will need more horizontal supports.
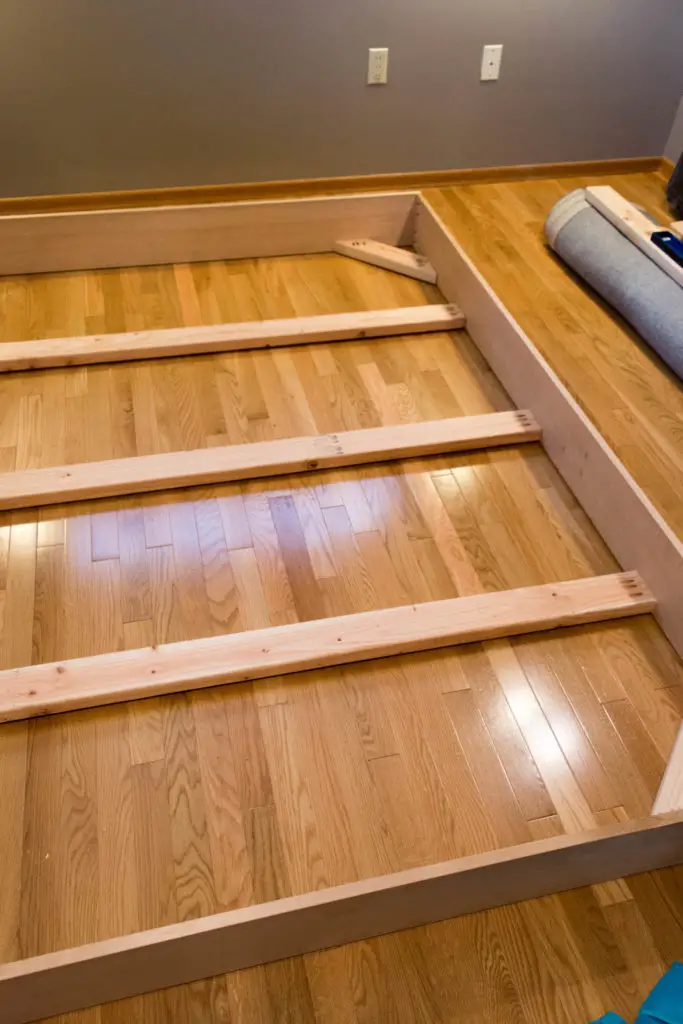
For a center beam to support the split box spring, I installed 2x4s cut to length between each horizontal support.
Tip: Back to Kreg Jig basics – don’t forget to adjust your settings for the ends of the center supports that will have a 1×8 as the receiving end (this is where I likely wound up using that extra 2×4 …. whoops!)!
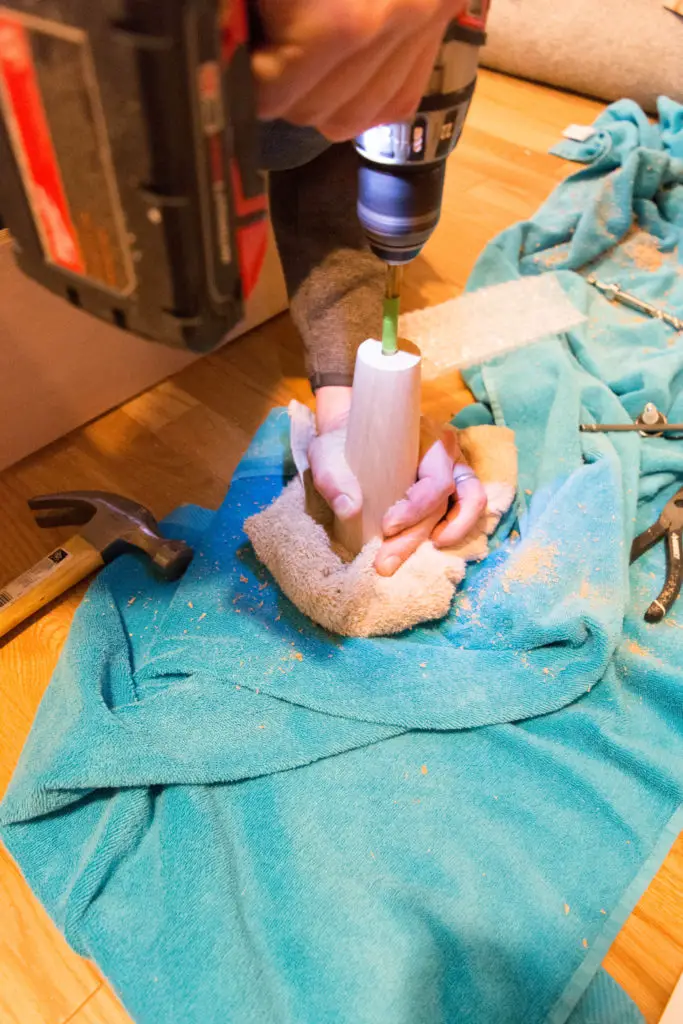
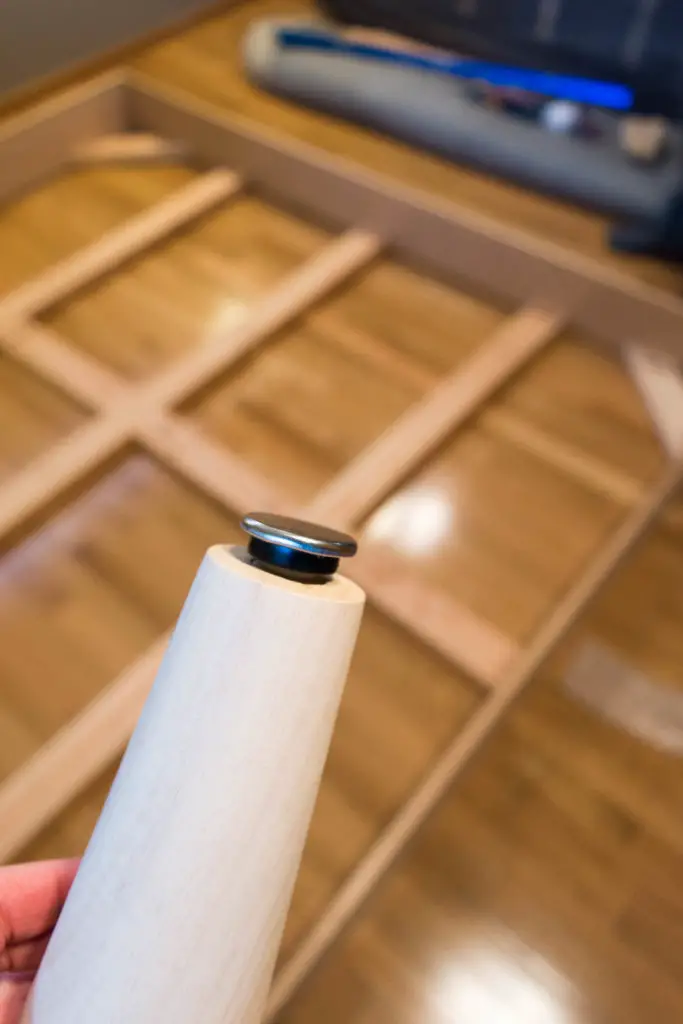
Before installing the legs, we added adjustable furniture feet to each of them (you can see an uninstalled one on the right side of the picture below, about half way down). Drill a hole just wide enough to accommodate the receiving plastic end, and then hammer it in to place. The feet screw into the receiving end and will help with leveling.
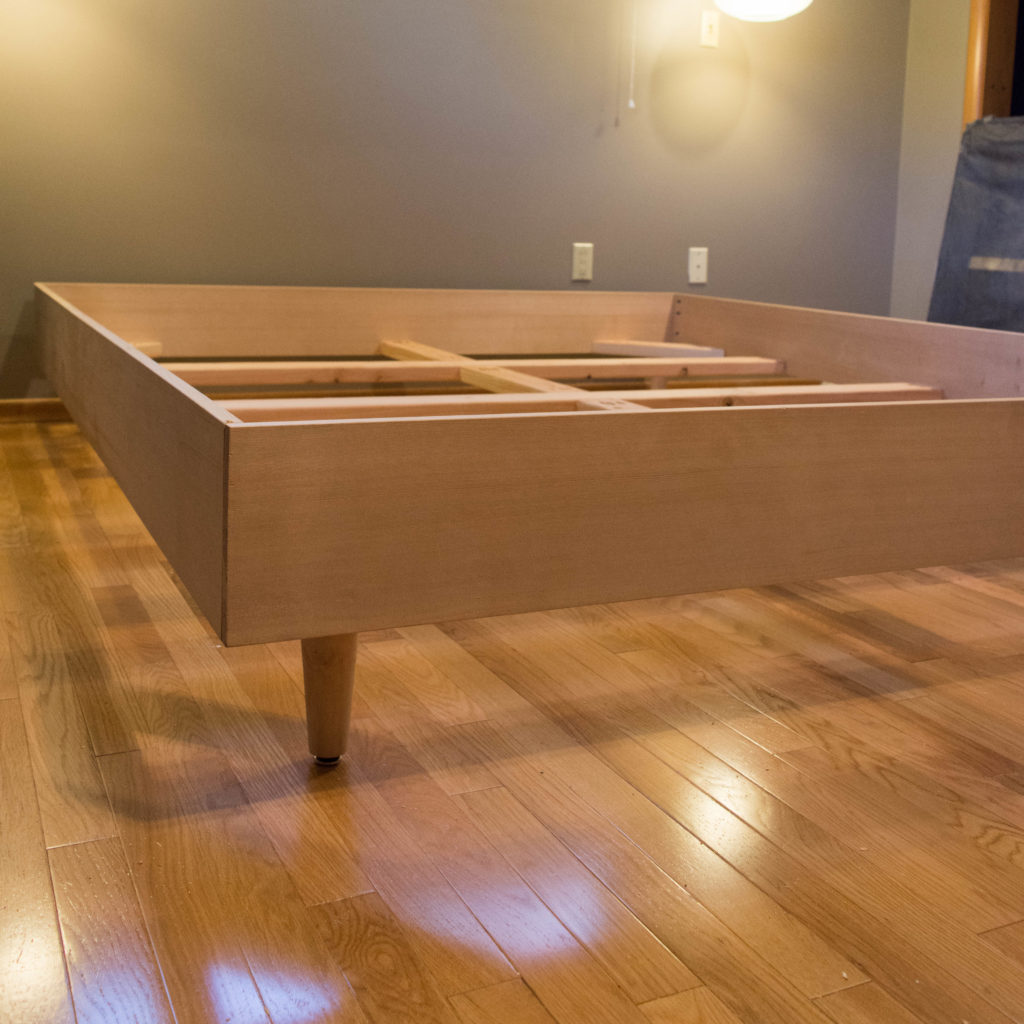
The tapered legs were then screwed into the plates that were attached in the earlier phases of the build.
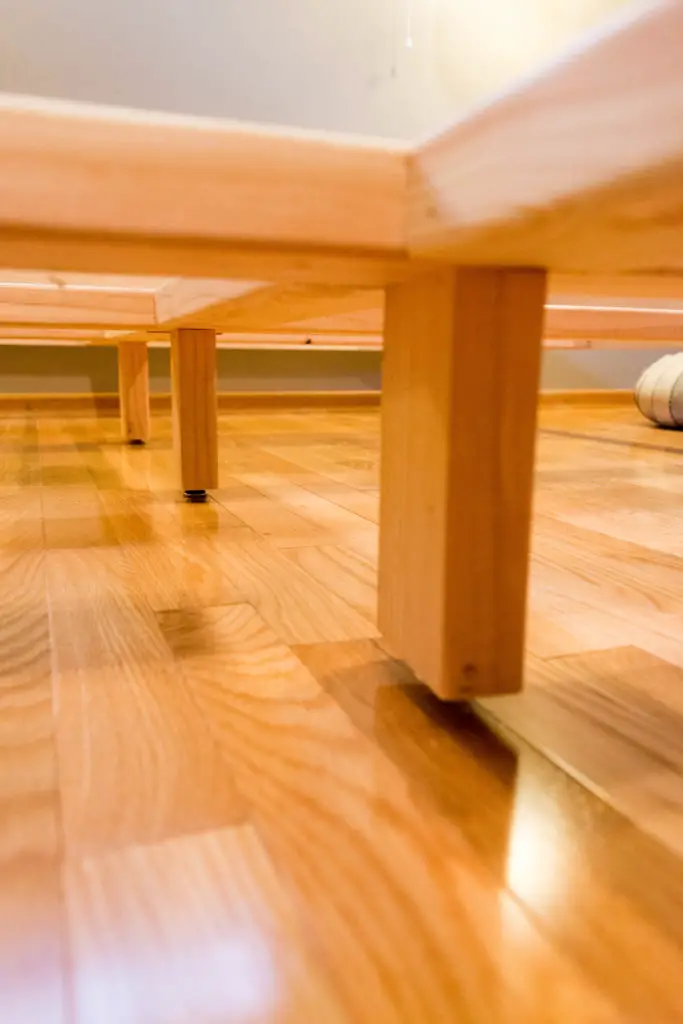
Four perimeter legs were definitely not going to be enough support though. I’d say for anything larger than a twin bed, you will need at least one center leg support. You won’t see these, so they do have to be anything fancy For our California King Bed, we used 2x4s and opted for a total of 4 center supports. They were attached to the horizontal beams with 2.5″ decking screws.
Now on to my least favorite thing ever – staining. I won’t bore you with pictures of all the dissatisfying stains I tried. Maybe I’m just picky, or terrible at staining, but I still dislike Minwax wood stains. Everything came out looking blotchy and uneven. It also didn’t help that I was trying to match the wood to our existing retro dresser.
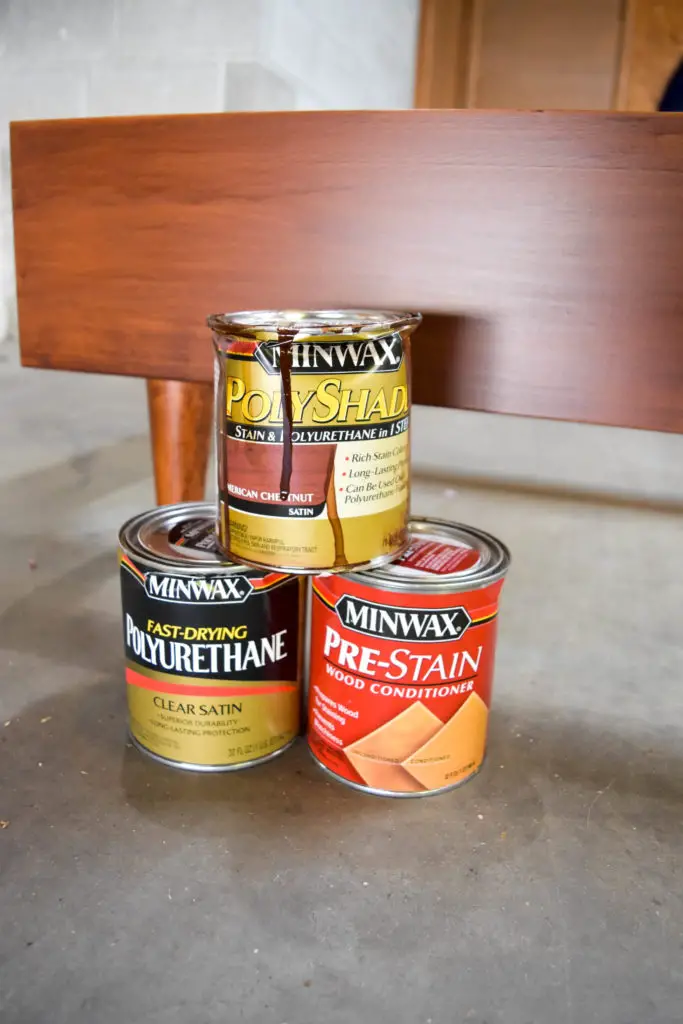
In a moment of feeling desperate, I did something I never thought I’d do, I bought a can of Polyshades. But guess what?! I think it worked pretty darn well.
I didn’t apply the Polyshades straight out of the can though. The color was darker than I wanted, so I diluted it – 1 part Polyshades to 2 parts satin Polyurethane. Before applying it, I recommend using a wood conditioner. I applied two coats of my diluted Polyshades with a natural fiber brush.
To get a really smooth finish, let each coat dry throughly and then buff it with fine steel wool. Make sure to clean off all the dust before applying the next coat. The last step was applying a single coat of the satin polyurethane.
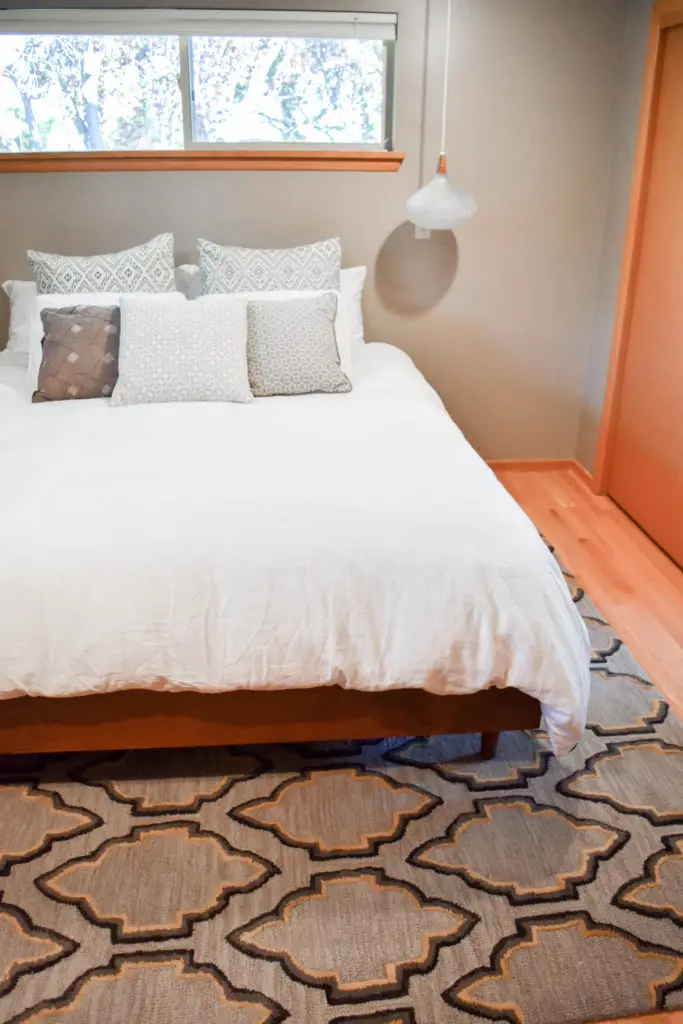
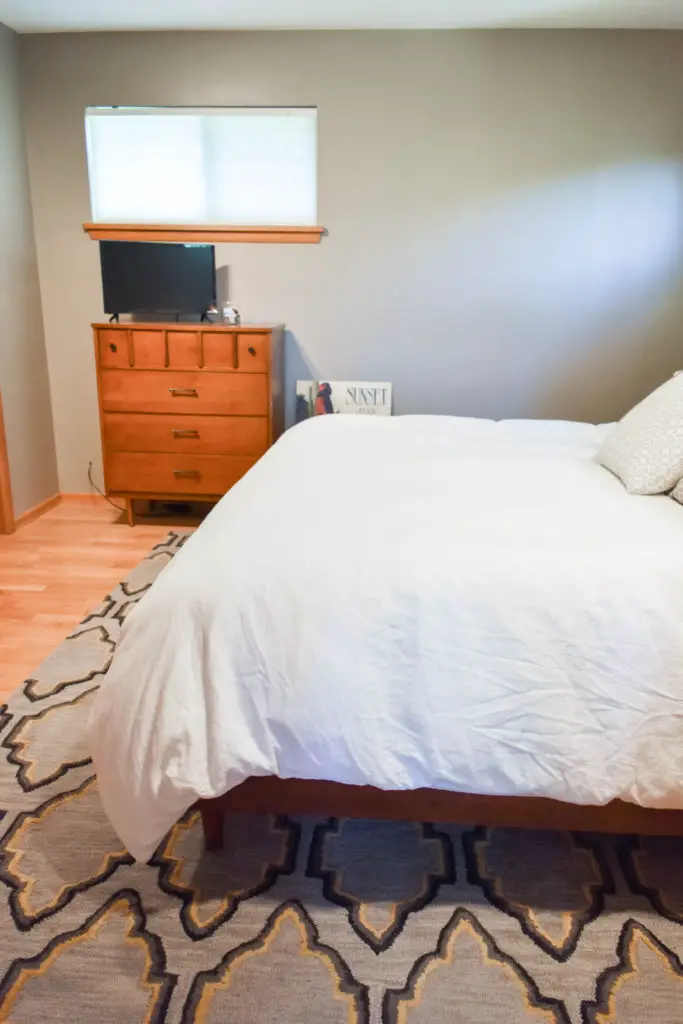
The color doesn’t match perfectly with our existing dresser, but that hasn’t prevented me from being happy with the result. Initially we thought we would build a head board, but now that it’s done we plan to keep it as is.
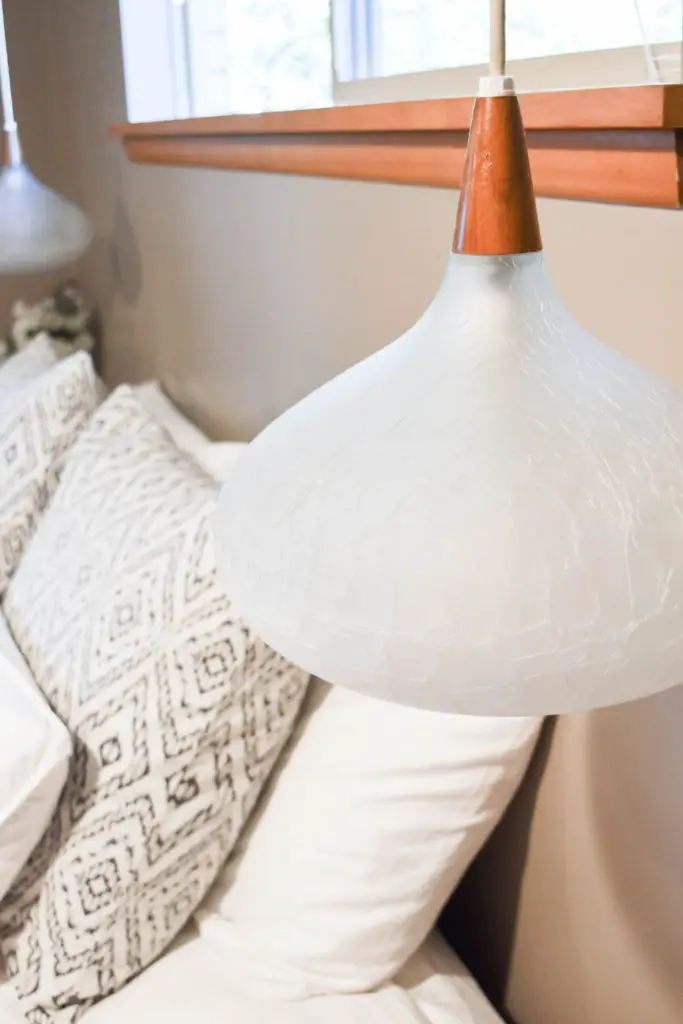
Also, I just have to give some love to our awesome pendant lights (which are original to the house!). I can assure you these aren’t going anywhere anytime soon – or ever!

I have been looking through a sea of bed frame plans and there are so many variations. This is the first frame that really got my attention (and it’s a Cali King!)
Has anyone else emailed their results? How has the frame held up?
I too used building a bed frame as an excuse to buy a Kreg Jig!
Do you think this frame will support a Sleep number bed? I’m 6’9″ so I’m trying to find something that has a solid support and I’m thinking your frame is going to do the trick (even if I have to add more slats and maybe an additional set of legs)
Thanks for sharing!!
Tony you made my day! I haven’t yet heard from anyone else who has made this frame but ours is holding up perfectly. You could always add more 2×4 support legs under the beams for added support (which you won’t even see if you keep them far enough from the edge). That and adding more slats and I think you’ll be good to go for a sleep number bed and then some. Let me know how it goes!
I love this bed, did you consider adding a headboard of some sort? I’d love to make it but when doing a headboard I always worry about the best way to attach it that is sturdy enough. Any thoughts? Thanks!
We definitely have considered it, but I can’t settle on what I would want it to look like. If we DO build a headboard, it will likely be rather simple and we will just attach it to the wall.
I completely forgot to give you an update!! Shortly after I posted this I built the frame. It’s been 9 months and it’s holding up like a champ. It’s absolutely fabulous. Thank you so much for sharing!!! It was so easy to make, very budget friendly, and best of all… mid century modern. (And easy too!! The Kreg made all the difference too. I ended up making a halltree with it because I felt so empowered lol. Thanks again!!!
Yayyy! I’m so glad to hear it!
I’m going to start my New Year making this bed frame for my wife I promised her a year ago I would since my restoration furniture business picked up the past couple years time is limited,, I can’t wait to get started on this I will be adding a headboard with about 4 cubby squares and a set of night stands I’m gonna pull from a 1950s Danish desk (something I wouldn’t usually do) but the top is not work saving so recycle is #1 in my home and yes the only ikea piece in my home is a 1989 Japanese Made square chrome clock,, Tony, Kate and Effie Row readers I’ll keep you guys posted Have a Happy and Safe New Year!!!
Love this bed! I need a king frame that is beautiful and I love the simplicity of what you’ve done here. I’m not an expert but I will try anything with no fear! LOL
I don’t currently have a boxspring. I’m going to mull over the plans and see what I come up with!
Also that rug is perfect with the room. If you see this let me know where you found it!
Krissy
Thank you! The rug was bought on Joss & Main years ago. It was an impulse buy and I definitely don’t regret it:)