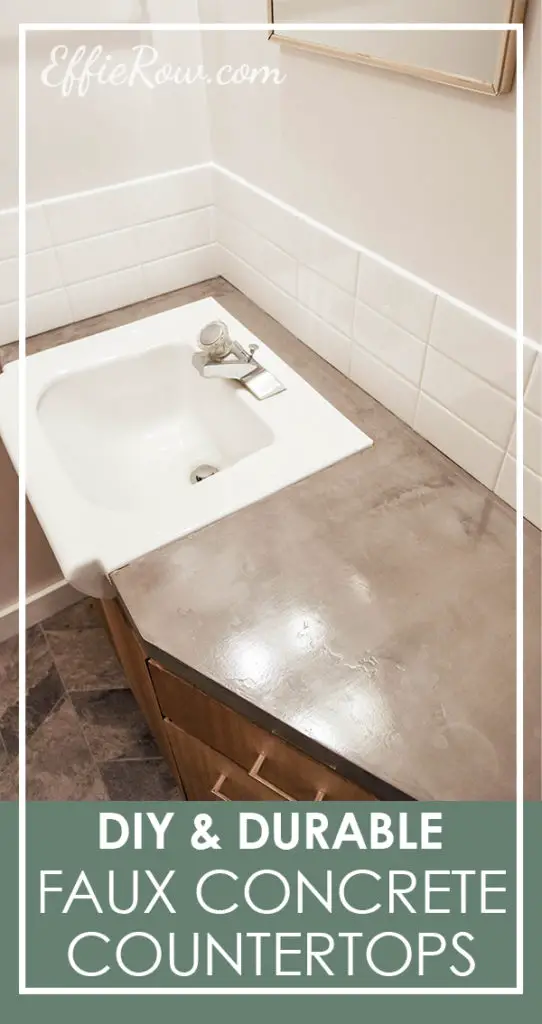
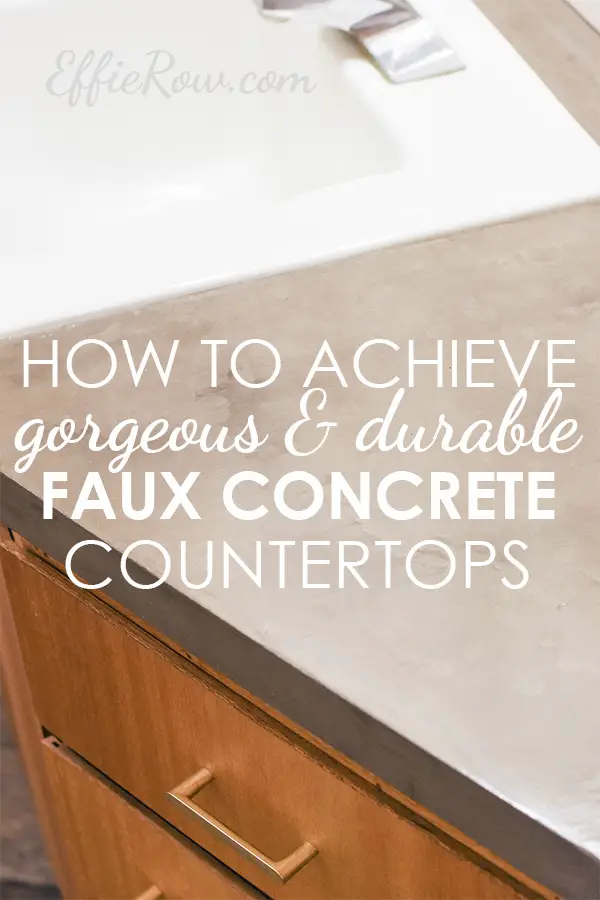
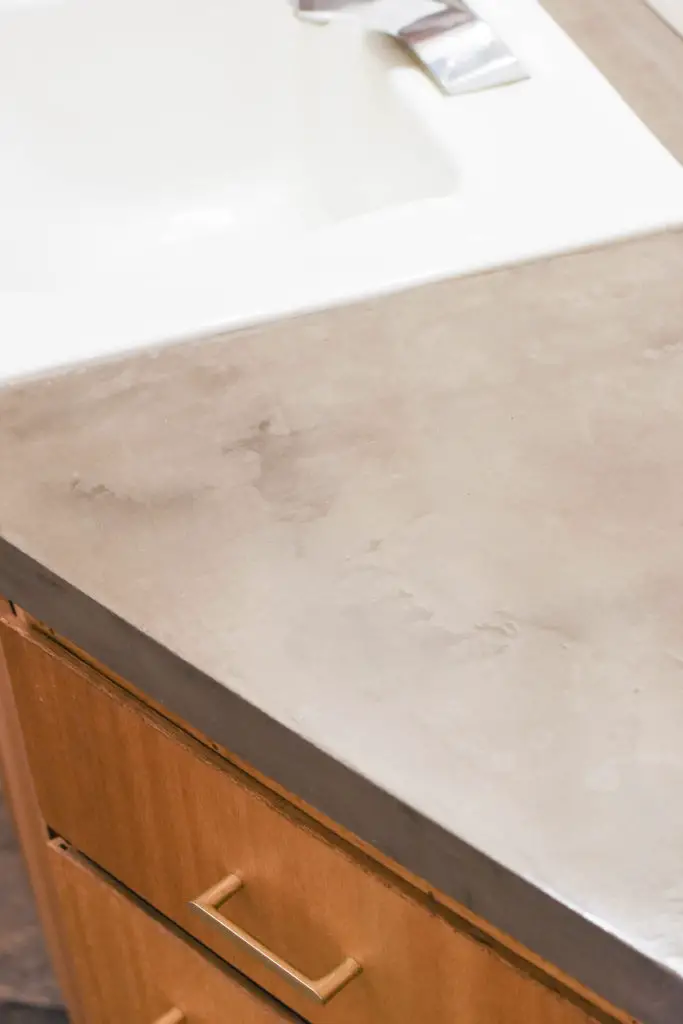
Our DIY faux concrete countertops were fortified with a product specifically designed to increase strength and water resistance. The result: gorgeous concrete countertops made to last!
DISCLAIMER: This post contains ads and affiliate links. At no additional cost to you, we may receive a commission for purchases made through these links and ads.
There’s a lot (A LOT) of tutorials out there on faux concrete countertops using Ardex Feather Finish. You’ll learn just as much from the failures as you will from the successes. Our process was not a flawless one but I honestly think the challenges led to a formula for success.
This tutorial is no doubt a recipe in the sense that everyone will have varying successes and opinions of the outcome. However, I feel pretty hair-flippin-confident when I say I’ve found a secret to durable and beautiful faux concrete countertops.
Keep in mind – actual concrete countertops are prone to flaws – stains, hairline cracks, and scratches. Faux concrete counters are no different. You should be honest with your expectations. If you want them to look new and unchanged for years to come – this is not your project.
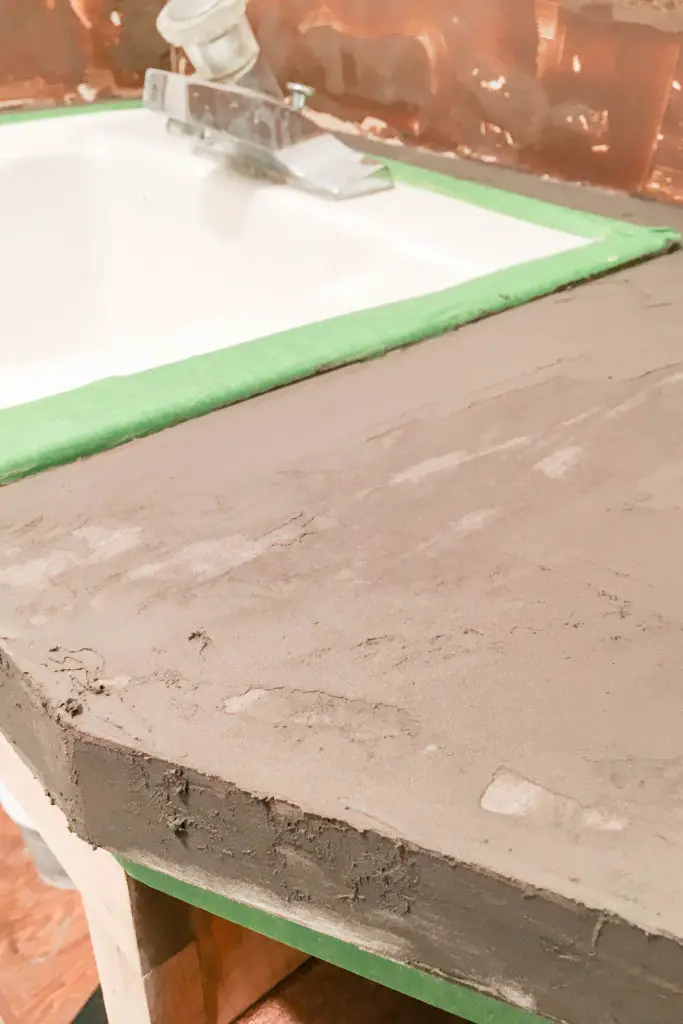
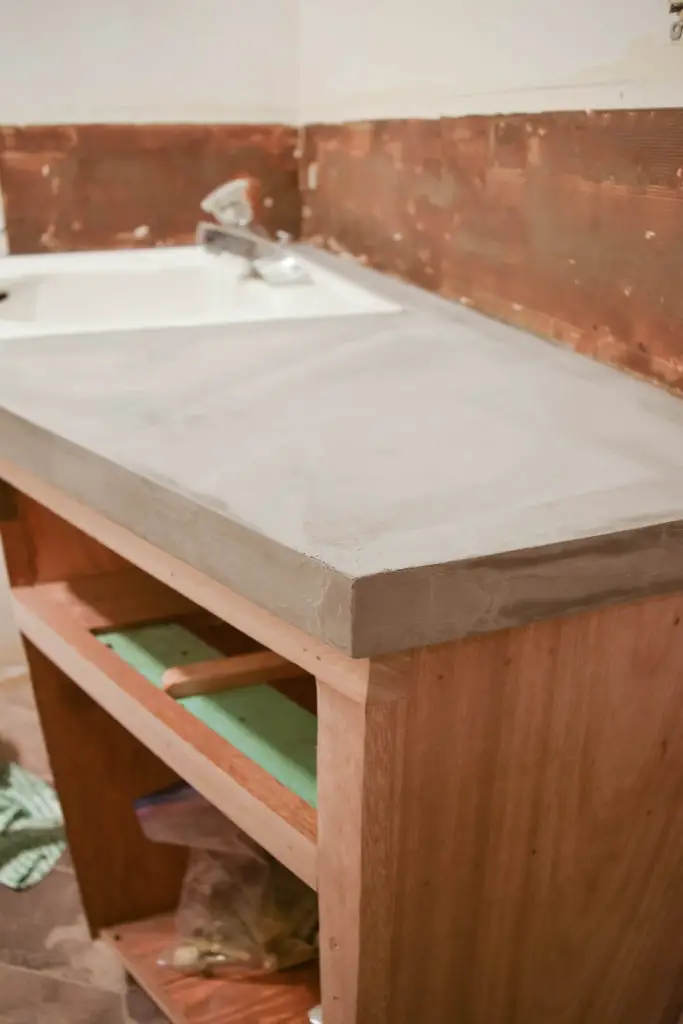
The starting line for your faux concrete counters depends on what you are replacing or covering up. For us – we were replacing some pretty retro formica counters. Fortunately, they lifted from the underlying plywood without much effort. Knowing that the texture would help the feather finish adhere, I sanded the plywood with 80 grit sandpaper to remove any obvious clumps of old adhesive. I also prepped the area using painters tape to protect the sink and cabinets below.
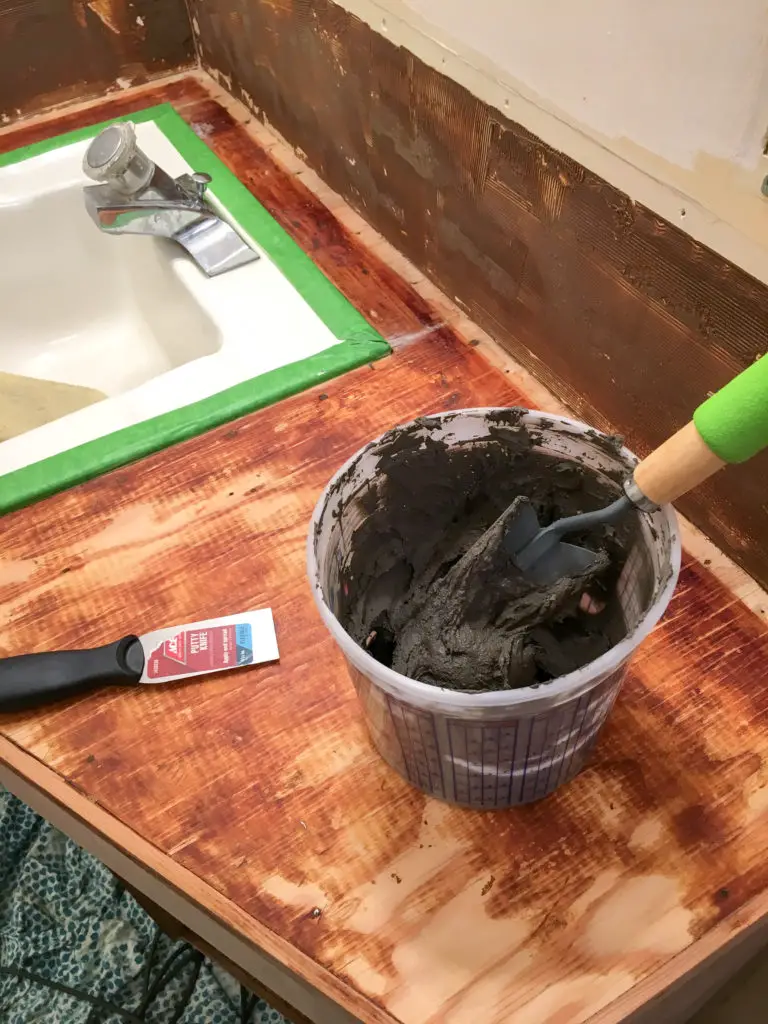
Next came mixing the feather finish. The mixture dries pretty quickly. Each batch dried before I was ready to do the next layer. Definitely prepare and mix in small amounts! And here’s where I’m going to tell you my secret to success…! Replace half (if not more) of the required water with Quikrete Concrete Acrylic Fortifier. I came across this product while browsing at our nearby hardware store. From Quikrete’s website – “QUIKRETE® Concrete Acrylic Fortifier (No. 8610) is an acrylic resin admixture designed to enhance bonding and water resistance of concrete patching materials, stucco, surface bonding cement, thin-set mortars and tile grouts.” BOOM. Who wouldn’t want to enhance the bonding and water resistance of their concrete counters?!
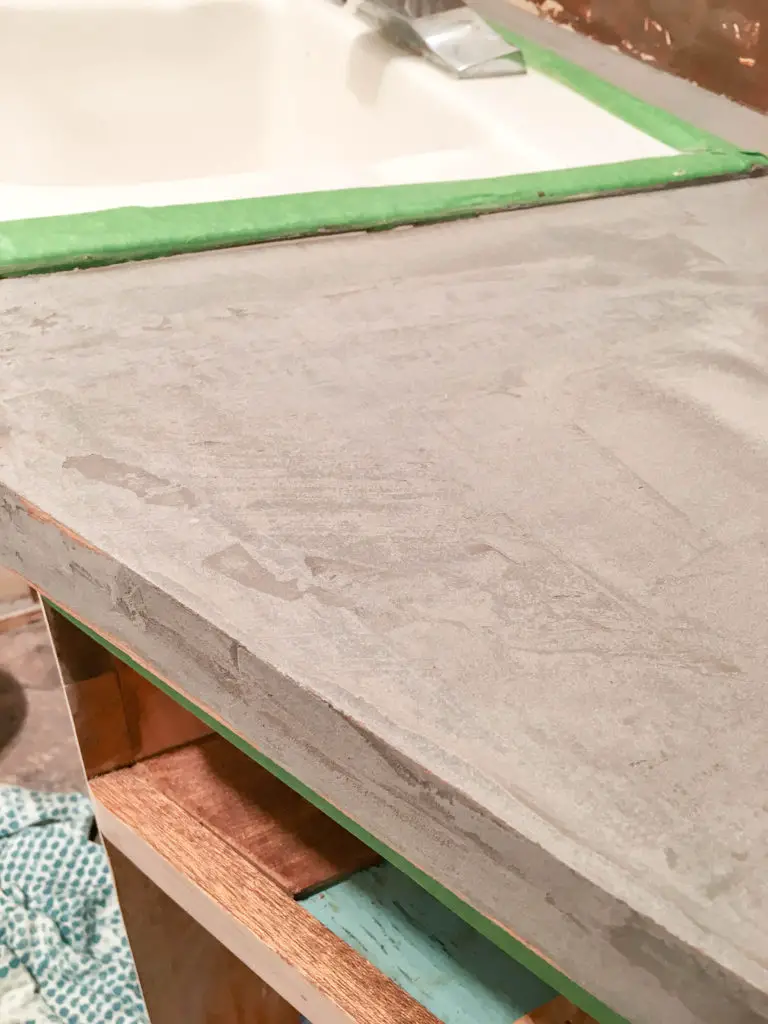
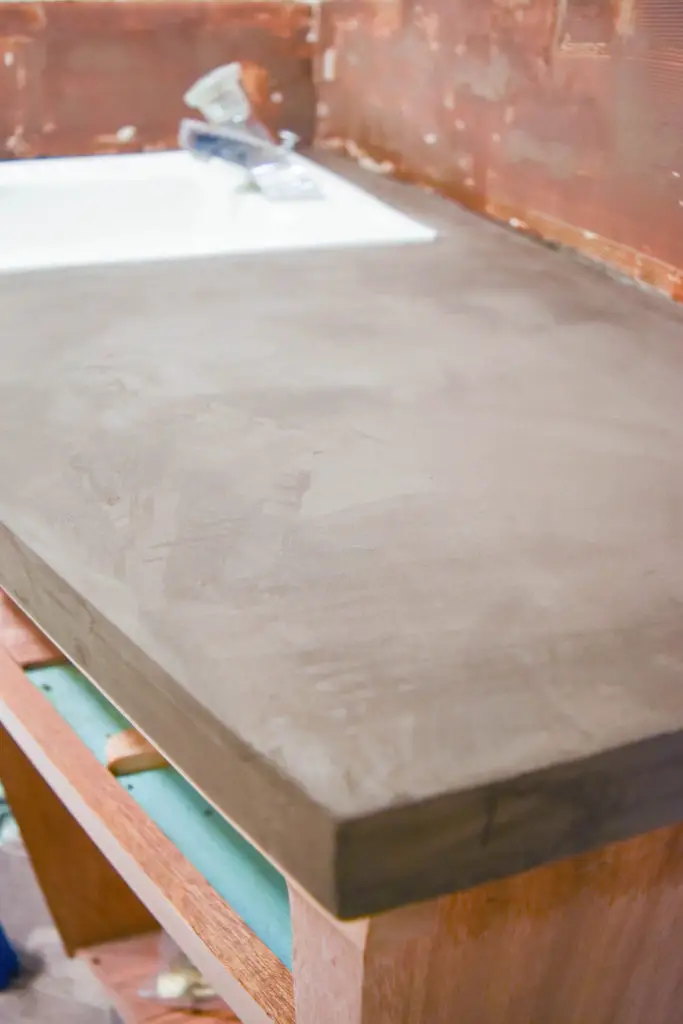
The consistency of my mixture was comparable to peanut butter and I applied each layer with a flexible stainless steel putty knife. After each layer was dry I sanded with 120 grit sandpaper. As with mixing – you must wear a mask that will prevent you from inhaling the dust particles. You should also close off the area to the rest of your home.
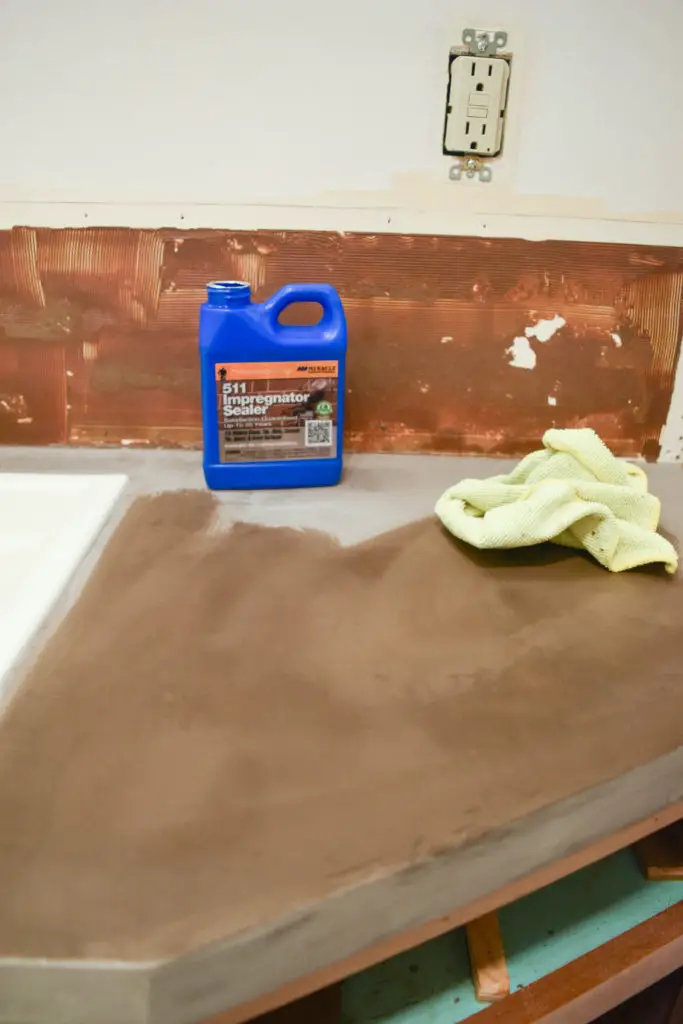
After four coats of feather finish I sanded the top layer with 120 and then 220 grit sand paper. I let everything cure for a day and then applied two coats of 511 Impregnator Sealer with a rag. The first two coats were separated by ~2 hours, and the last coat went on 24 hours later. The next day I applied two coats of a high gloss finishing sealer (two hours apart) with a foam brush, followed by and a final coat 24 hours later.
Everything was looking fine and we tried out the new countertop with our holiday guests. But after just a few days of use there was some pretty obvious water spots and toothpaste stains.
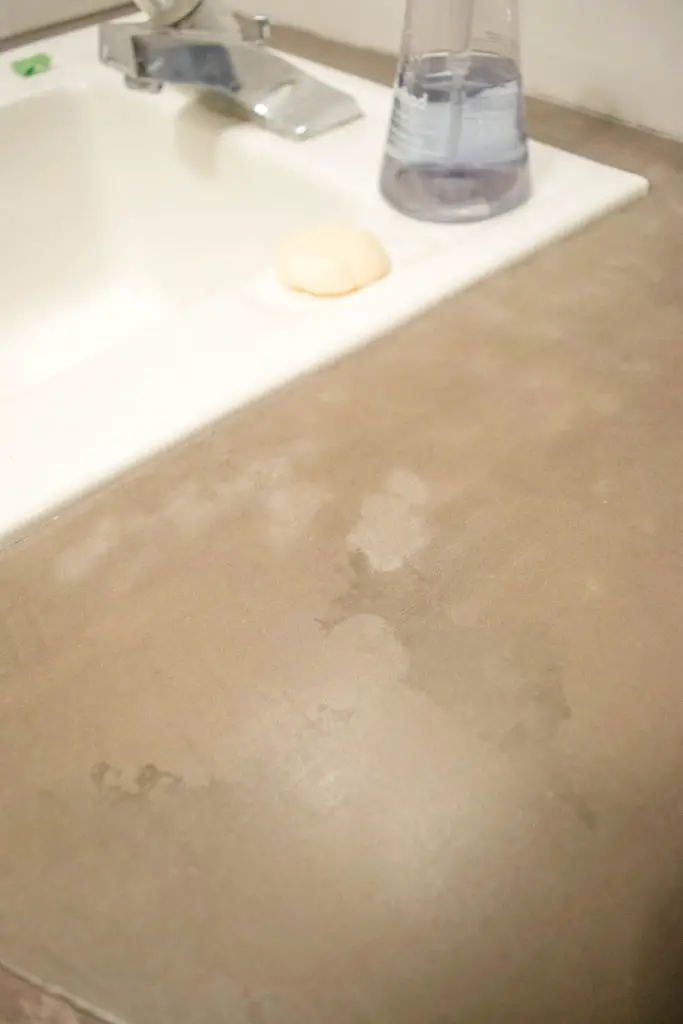
Without waiting long enough to feel defeat – I decided I would try to sand out the blemishes and redo the top coat. I lightly hand-sanded the entire surface but put more energy into the problem areas.
After sanding and removing any dust with tack cloth, I applied two additional coats of high gloss sealer (24 hours apart).
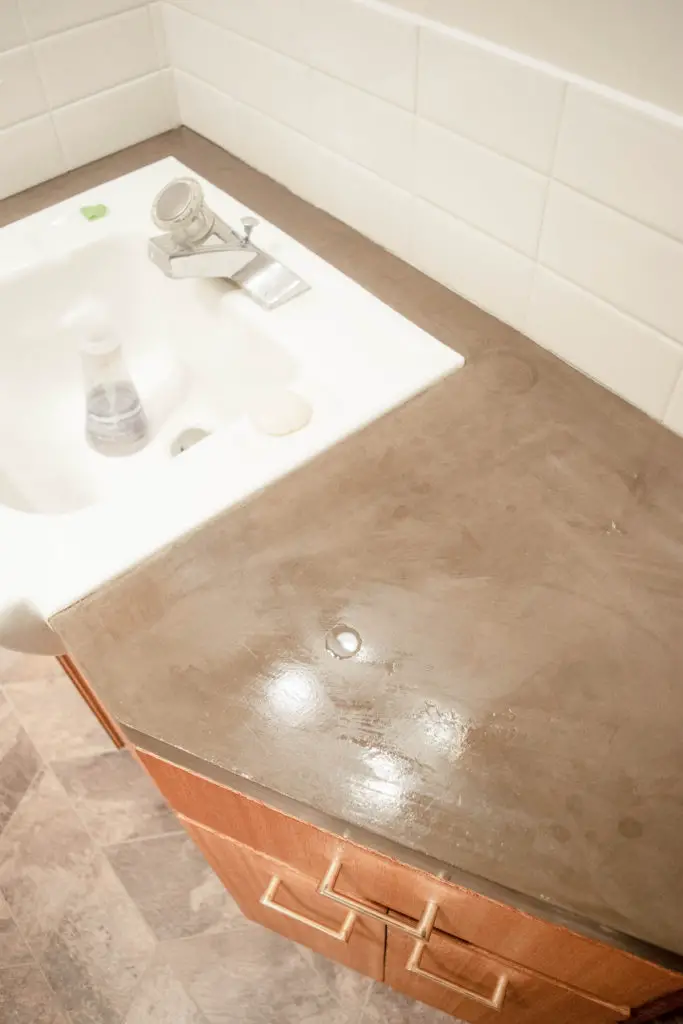
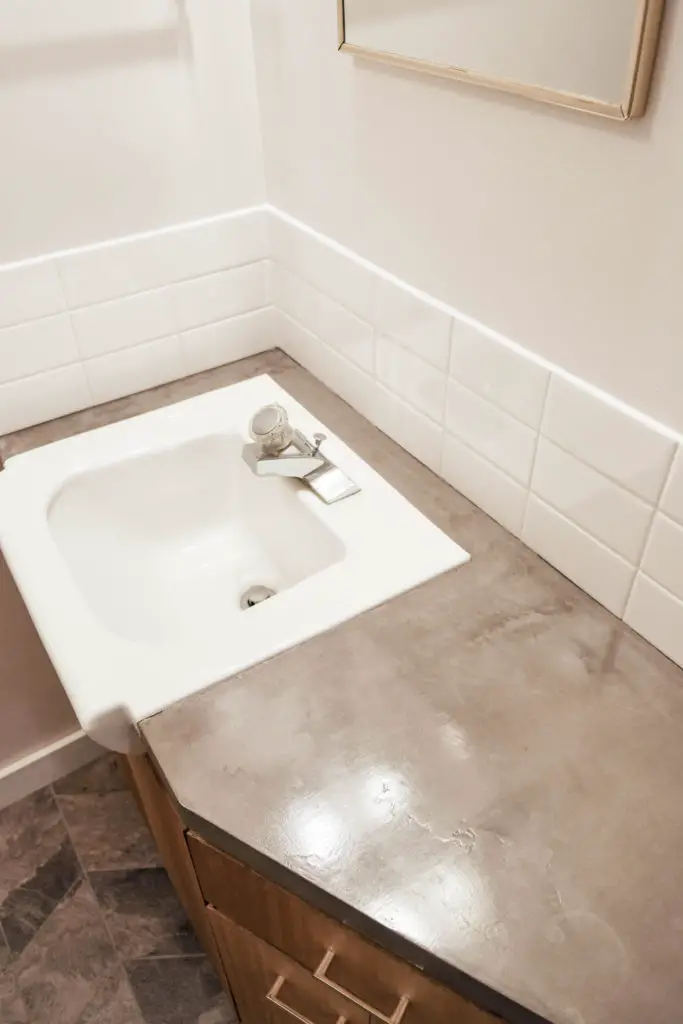
The final coat dried perfectly shiny and has held up great (IMO). The pictures below are after 2 years of daily use. There are definitely imperfections, but I expected this and fully embrace them!
While it may seem tedious, the process of completing this project with various layers and drying/curing times is to ensure a countertop that will withstand the elements.
To review, here is the list of materials you will need:
- Ardex Feather Finish
- Quikrete Acrylic Concrete Fortifier
- Miracle Sealants 511 Impregnator
- Miracle Sealants High Gloss Sealer
- Rags
- Water
- Tack cloth
- Foam brushes
- Flexible steel putty knifes
- Mixing containers (I used a new disposable plastic bucket for each batch/layer of feather finish)
- Respirator mask
- Painters tape
- Orbit sander
- Sanding paper (80, 120, and 220 grit)
And finally, here is a simplified list of the steps I would recommend for DIY faux concrete counters:
- Remove and/or prepare your existing countertops.
- Tape off adjacent areas to protect them during concrete application.
- Mix Ardex Feather Finish in small batches (while wearing a mask!) – 2 parts powder to 1 part liquid (50/50 water and acrylic fortifier).
- Apply a thin layer of concrete with a putty knife. Allow to dry and sand with 120 grit sand paper (while wearing a mask!).
- Repeat step 3 for a total of four layers (more or less depending on coverage needs).
- Sand final layer with 120 then 220 grit sand paper.
- Remove dust with tack cloth.
- Apply 3 coats of 511 impregnator with a rag (2 hours between first and second coat, 24 hours between second and third).
- Let countertop try for 24 hours.
- Wipe counter with tack cloth and apply two coats of high gloss sealer (2 hours a part).
- Let sealer dry for 24 hours and then lightly stand with 220 grit sandpaper.
- Wipe with tack cloth and apply two additional coats of high gloss sealer (2 hours apart).
- Let dry/cure for 24 hours.
- Enjoy and marvel at your amazing DIY faux concrete counters!
