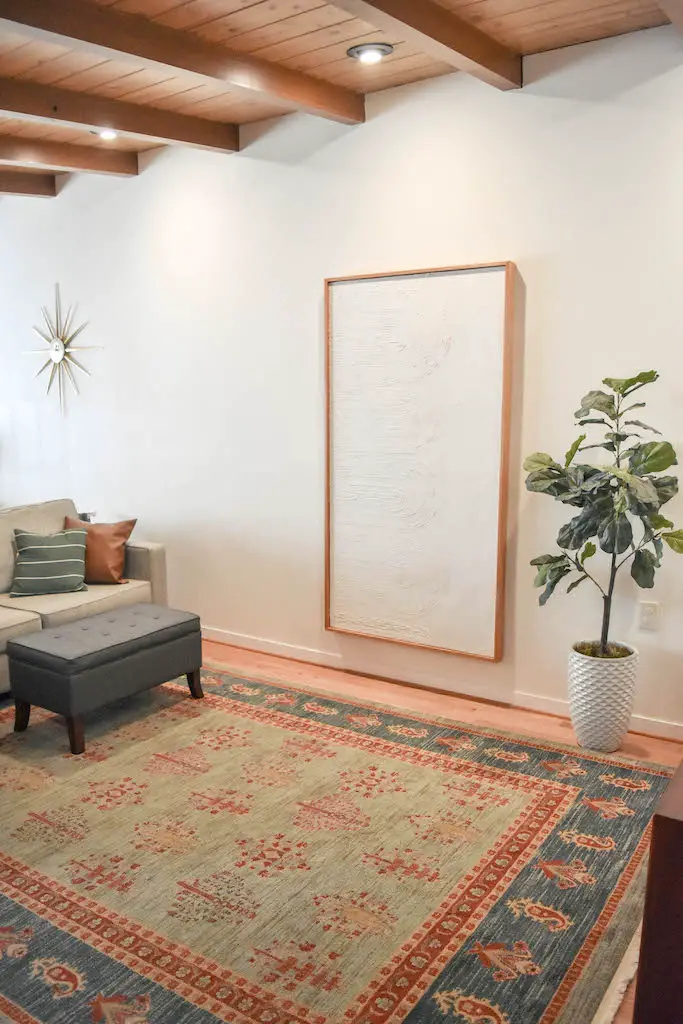
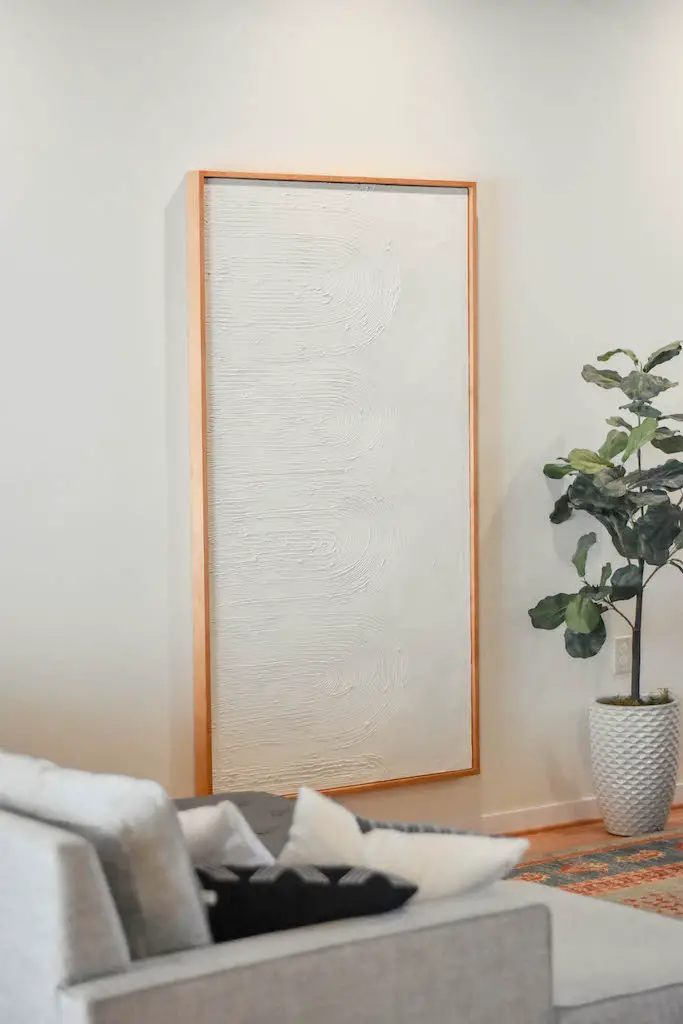
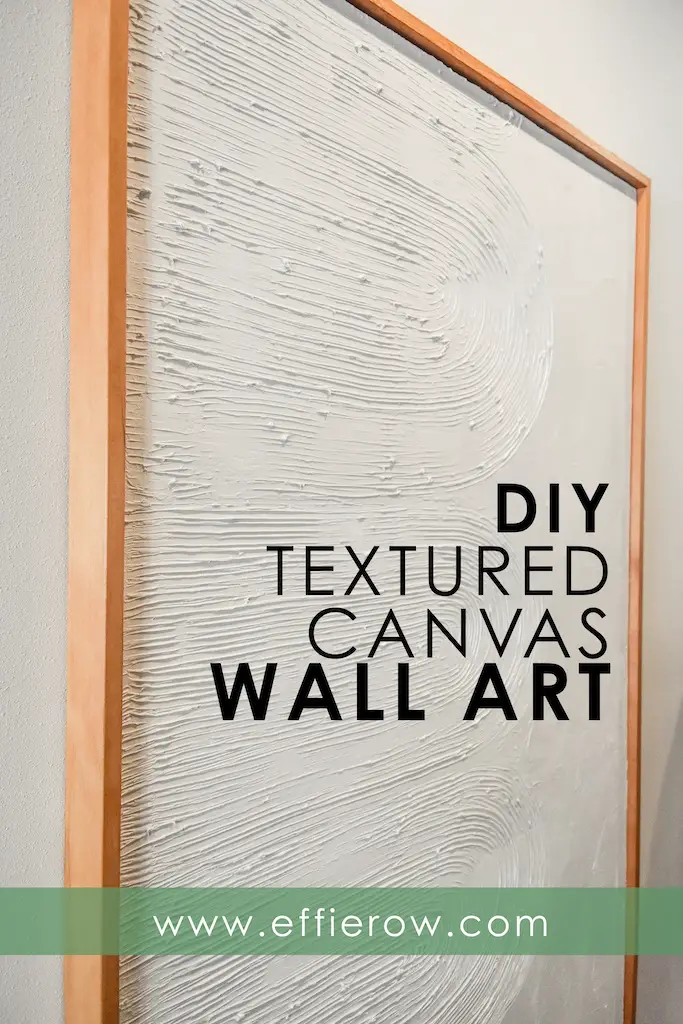
With an old window curtain and some other existing materials, this DIY textured canvas wall art was made for less than $100! Its large scale has been the perfect solution to cover the large hole in our living room wall.
DISCLAIMER: This post contains ads and affiliate links. At no additional cost to you, we may receive a commission for purchases made through these links and ads.
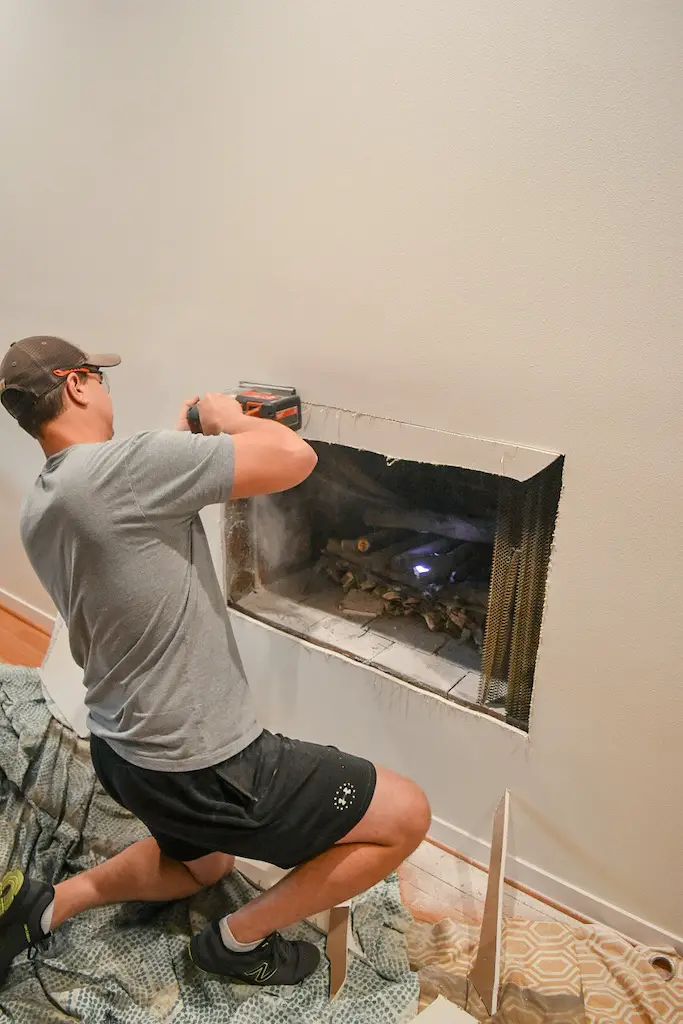
Last fall I convinced Eric that we should put in a functioning fireplace. We had covered up the existing firebox when redoing our living room, so the first step in the process was cutting through our drywall. But…after a few quotes and some deliberating, we realized we weren’t quite ready to move forward (we will someday though!).
Unfortunately, the change of plans left us with a decent and unsightly hole in our wall. We lived with it for several months, and at one point I even considered creating a faux fireplace with doors and a mantle. But after some time and Pinterest browsing, I decided what we needed was some large-scale art to cover the hole and add to our living area.
I came across several ways of creating DIY textured art. There are tutorials that involve purchasing new canvas, as well as repurposing already-used canvas (pre-framed). However I had a pair of heavy white curtains and some 2x2s that weren’t being used, so I decided I would make my own. This seemed like a great, budget-friendly start to creating my custom textured wall art!
Constructing the Canvas
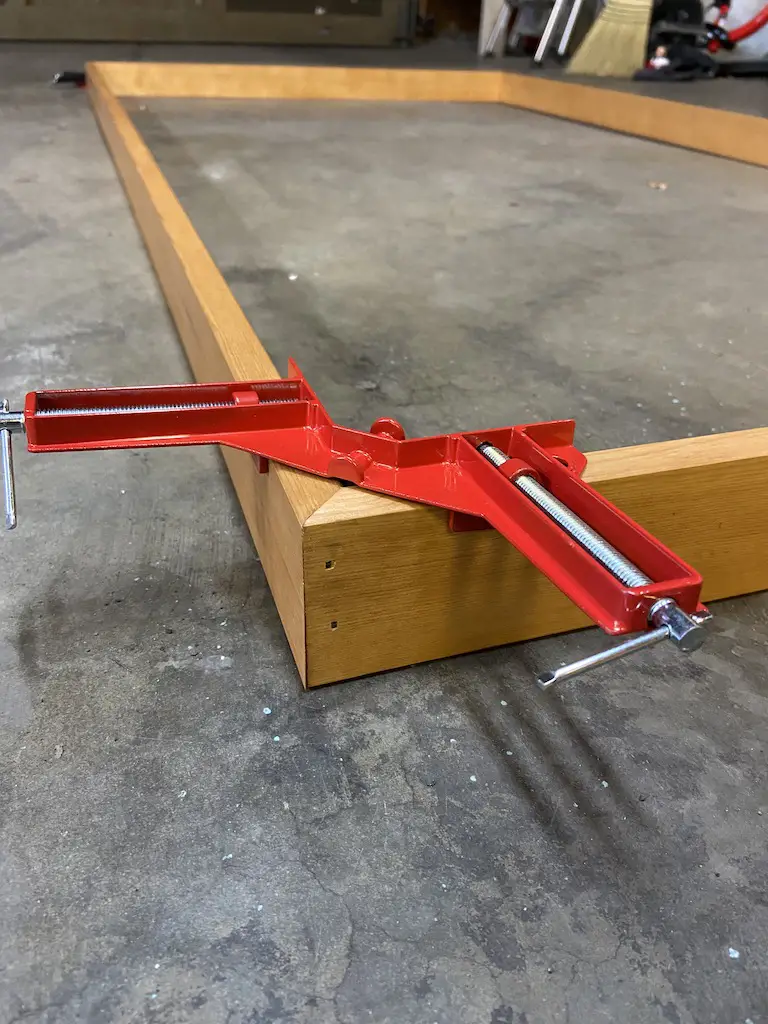
After determining the specific dimensions for my wall art, I created the frame using 2x2s, some corner clamps, and my kreg jig.
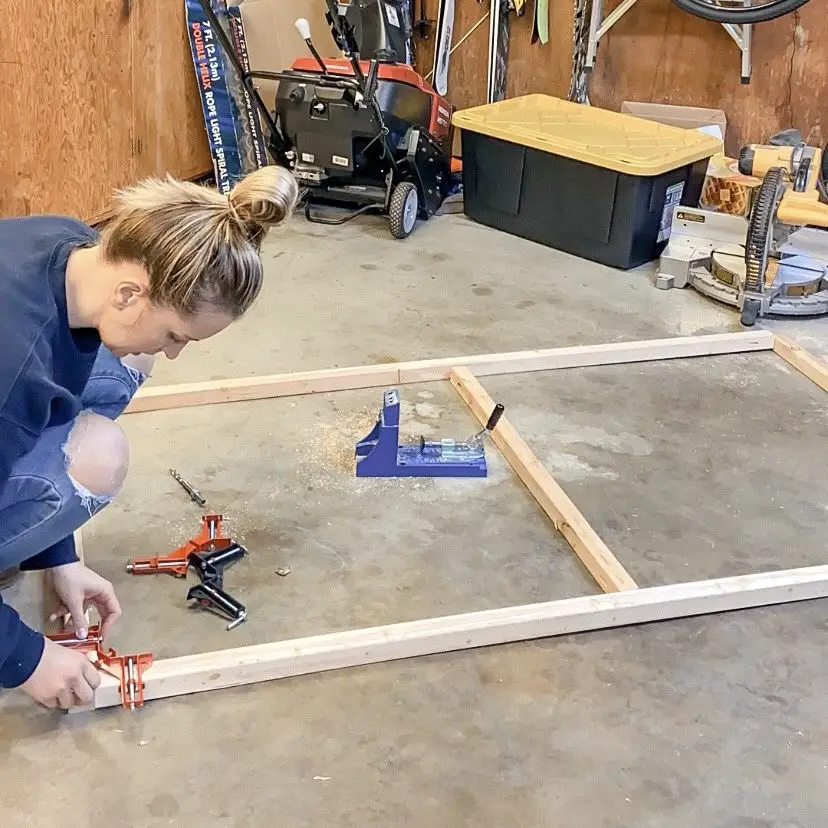
The next step was attaching the canvas fabric (aka some white, somewhat heavy curtains from Target that I was no longer using). I know that there are tutorials on canvas stretching out there somewhere, but I pretty much winged it. Using a staple gun, I started at the middle of either side and secured the fabric with one staple. After that, I stretched the center of the fabric vertically and placed staples at either end. From there, I stretched the fabric and placed staples every 1-2 inches along the sides. Throughout this whole process, I was pulling the fabric as taught as I could.
After trimming the excess fabric, I finished up with the corners. Again, no official technique here…I essentially folded and stapled in one direction before doing the same for the adjacent edge. Lastly, I went around the frame and filled in with more staples. In the end, there’s probably not a gap >1cm without a staple.
Prepping the Canvas
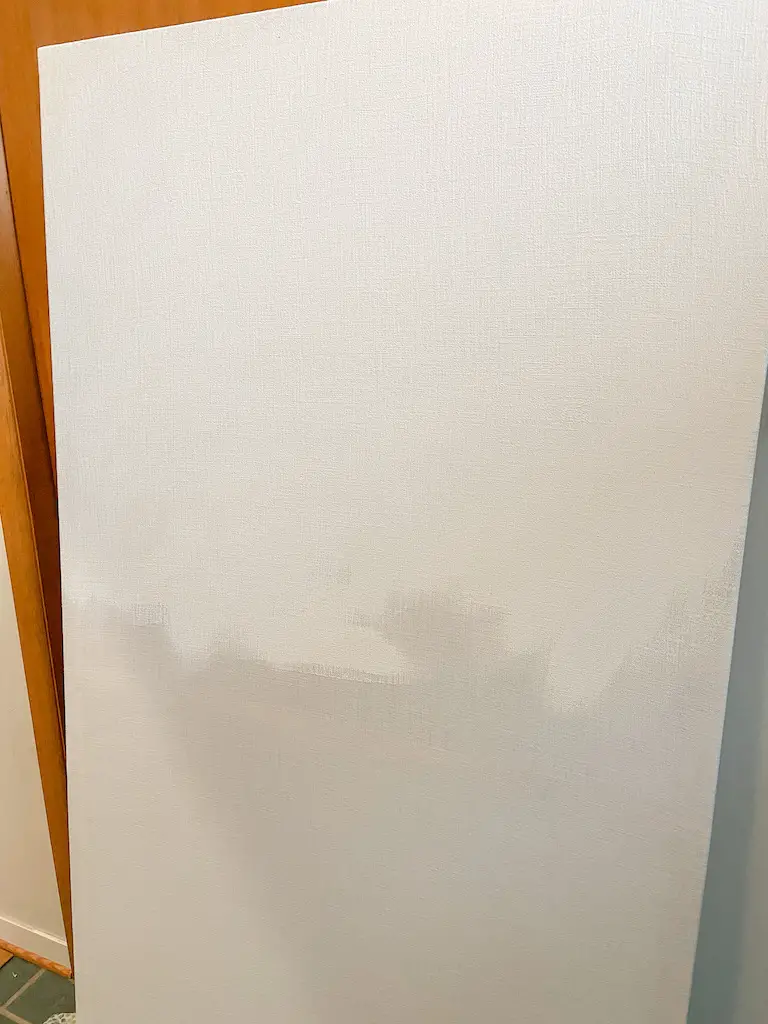
To prime the fabric, and close in all the tiny holes, I applied two coats of gesso. I’m no artist, but from what I’ve come to understand, gesso is used for this exact purpose – priming canvas. I was pleasantly surprised at how well it filled everything in!
Creating the Textured Design
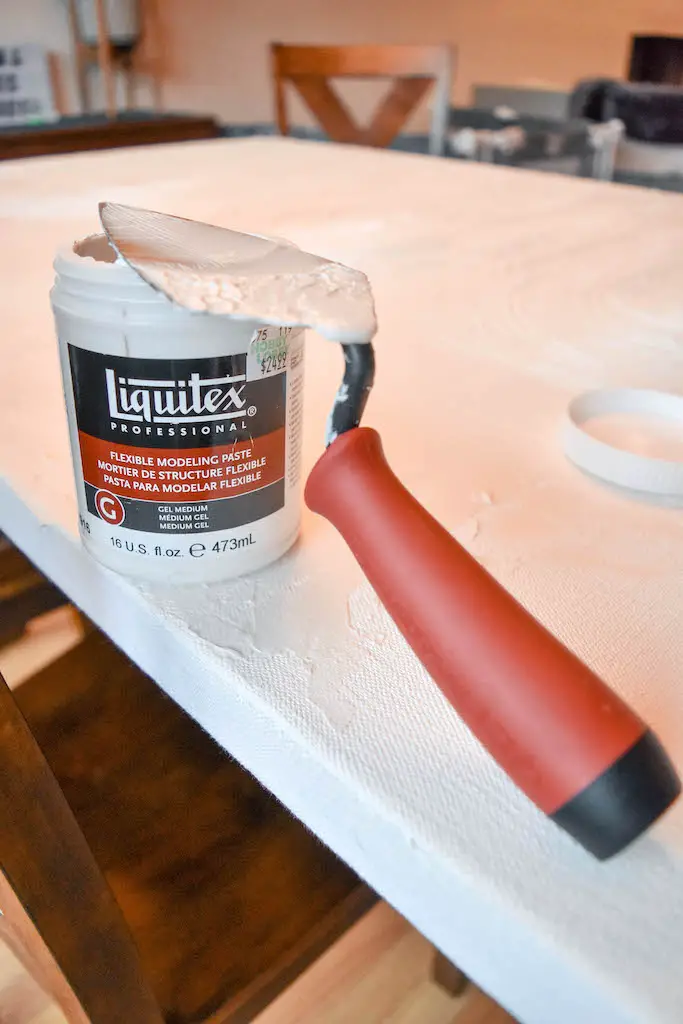
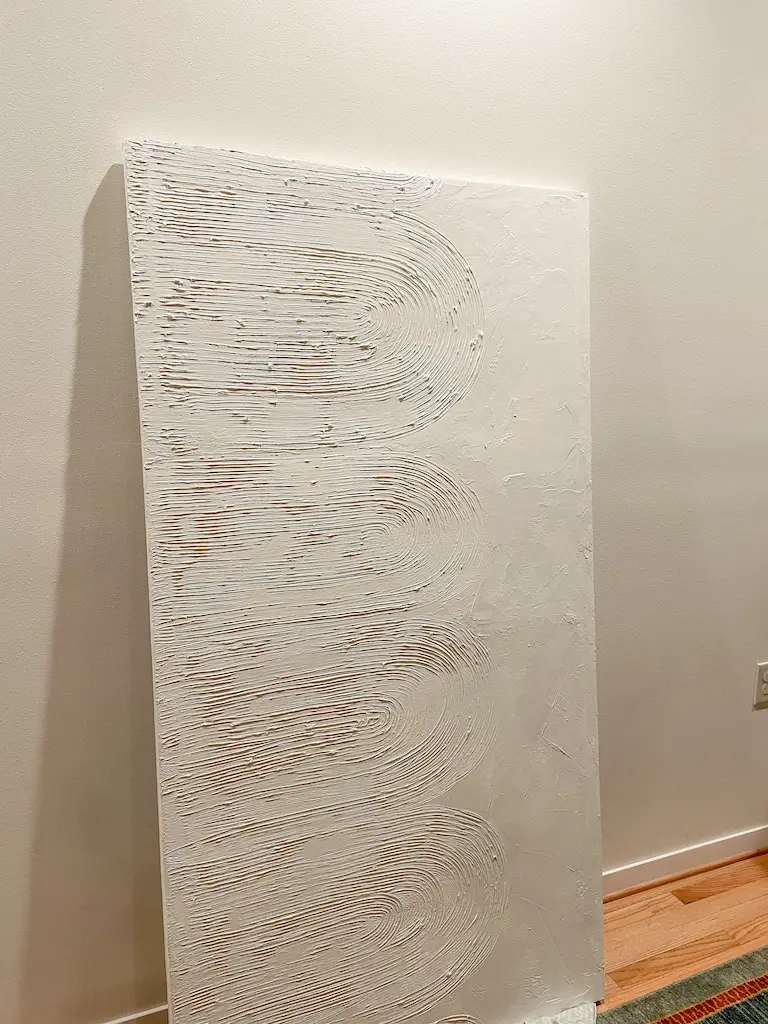
Now for the fun part. With my canvas primed and dry, I got to move on to using the modeling paste. I did some research when it came to choosing a modeling paste (come to find out there A LOT of different types) and easily opted for a flexible option. Since I was doing this project on a large piece of canvas, I wanted to make sure that the end result would not easily crack or flake.
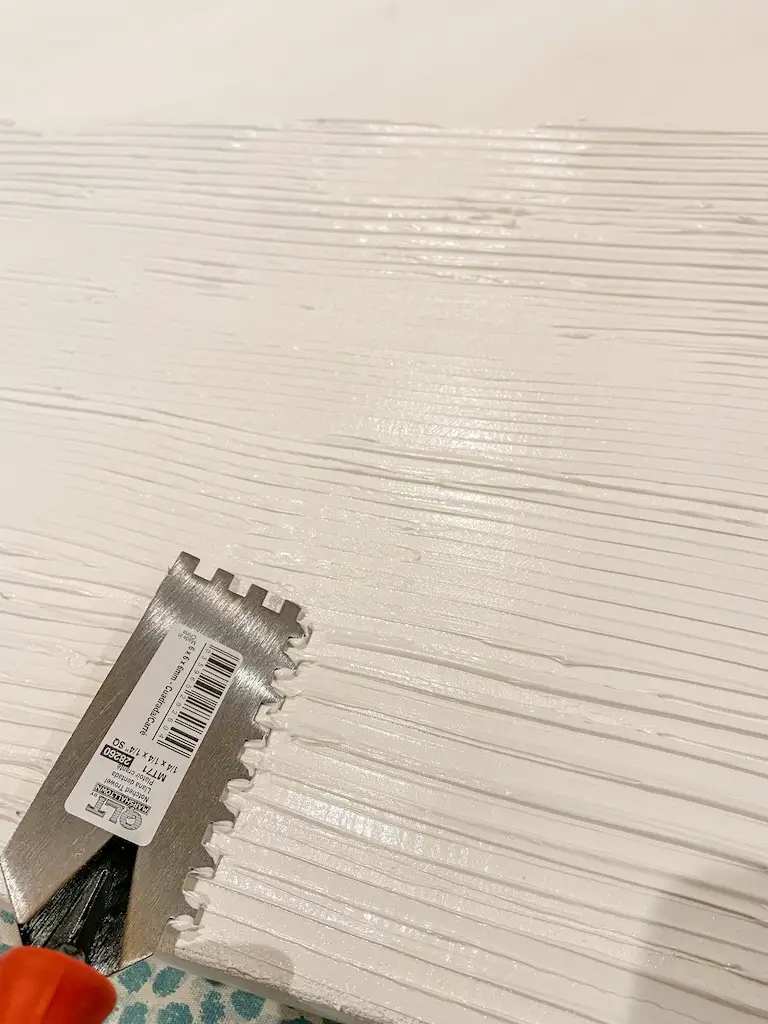
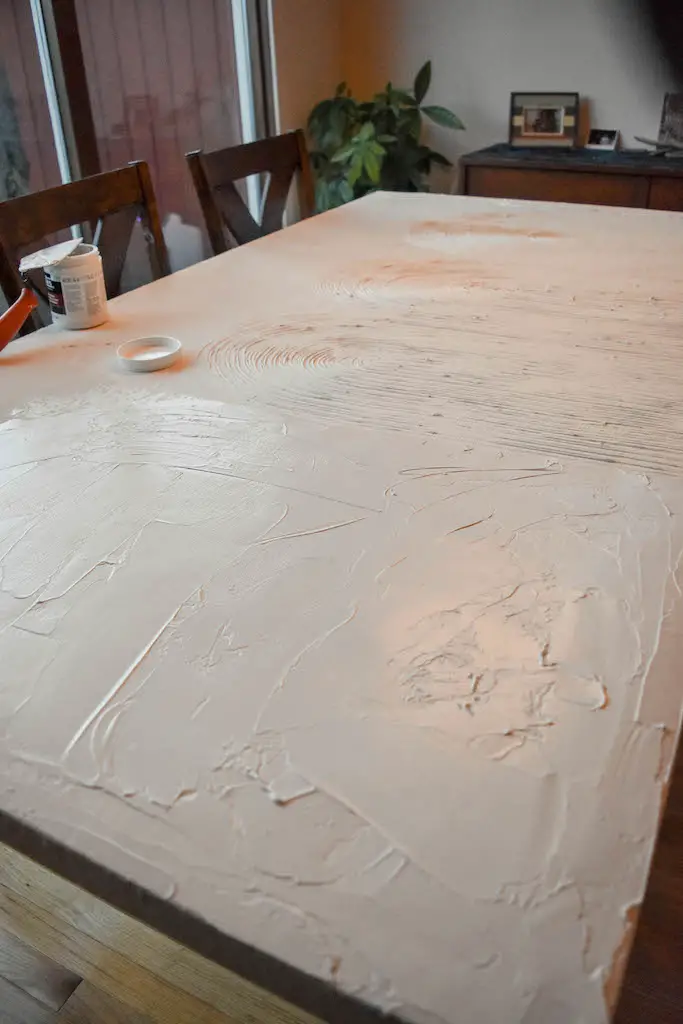
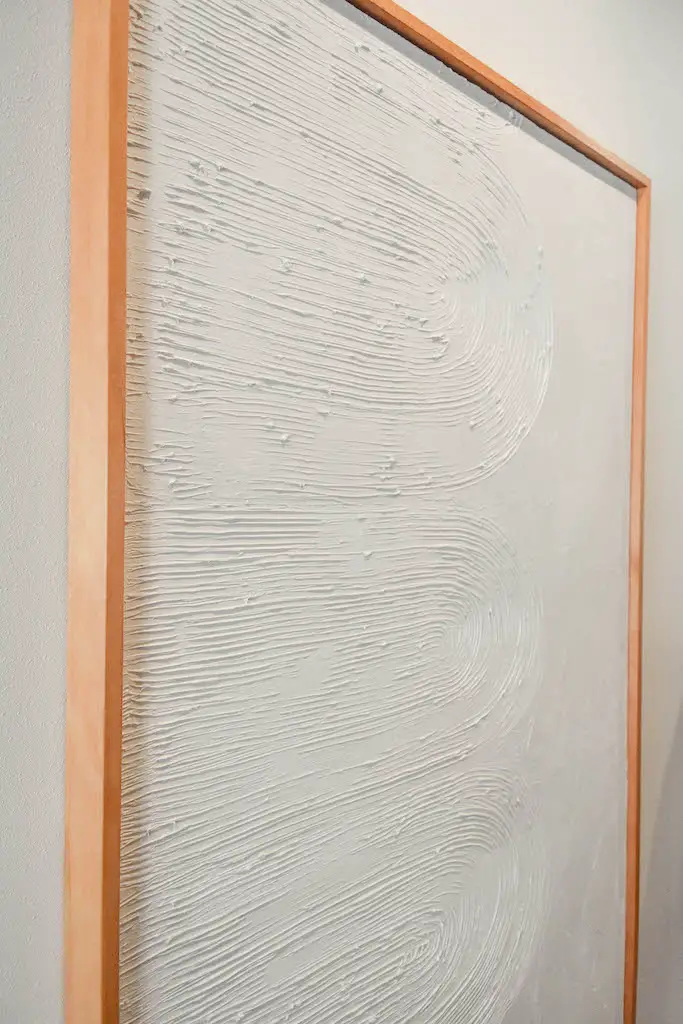
I applied the flexible modeling paste to a workable area using a pointing trowel. Then I went over the same area with a notched tiling trowel to create my design. I quickly learned that you don’t need to apply a thick layer of modeling paste to achieve definition. In fact, if applied too thick, I wound up with little blobs of excess along my lines. Fortunately, the nice thing about the flexible modeling paste is that it has a pretty forgiving working time. I made some design changes along the way and it was no problem to go back, smooth things out, and start over.
I was nervous at first because the weight of the modeling paste seemed to make the canvas sag and seem less taught. But once the modeling paste was dry, it had the opposite effect and the entire piece felt sturdy (yet flexible!).
I had initially planned on painting over the modeling paste with a matte paint. But once the modeling paste was dry I was pretty happy with the color and the finish. The various layers of modeling paste has dimensions and for now the plan is to leave it as-is.
Building the Frame
Once the design was thoroughly dry I moved on to building the frame. We had already had one 1×3 in our garage and so I purchased two additional ones to build the frame. The plan was to attach the frame to the canvas with four angled corner braces. So, to get the inside measurements of the frame, I added the thickness of the braces (~1/8″) to the length and width of the canvas. After the boards were cut with 45-degree angles, I stained them with Varathane wood stain (in Spring Oak).
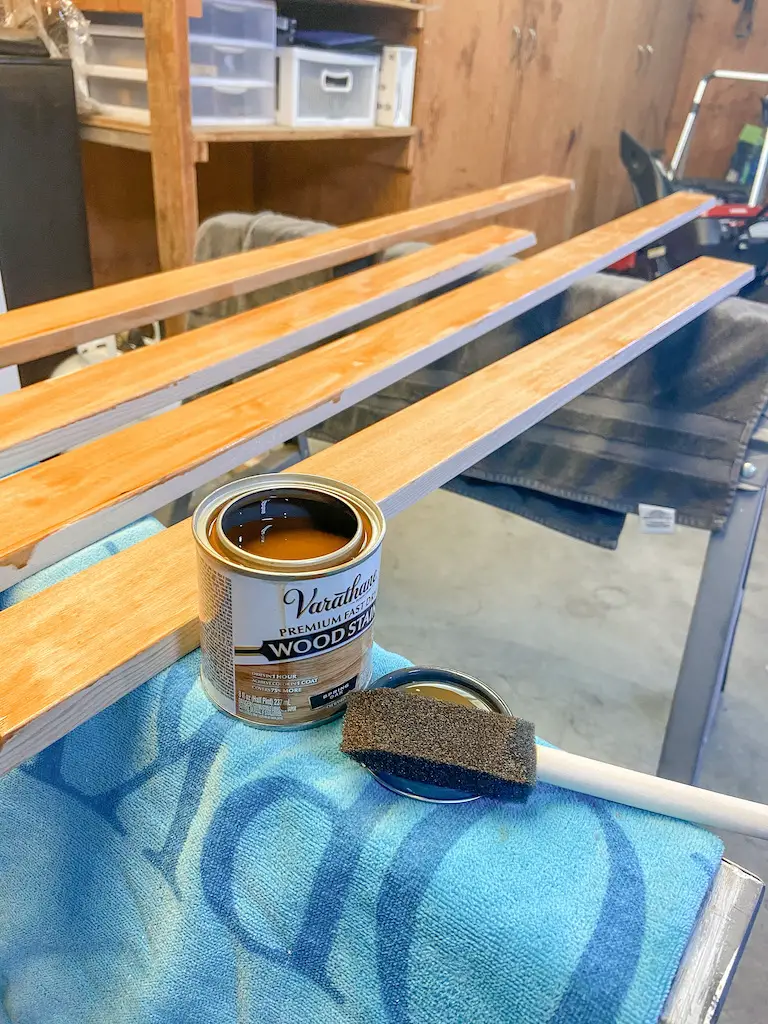
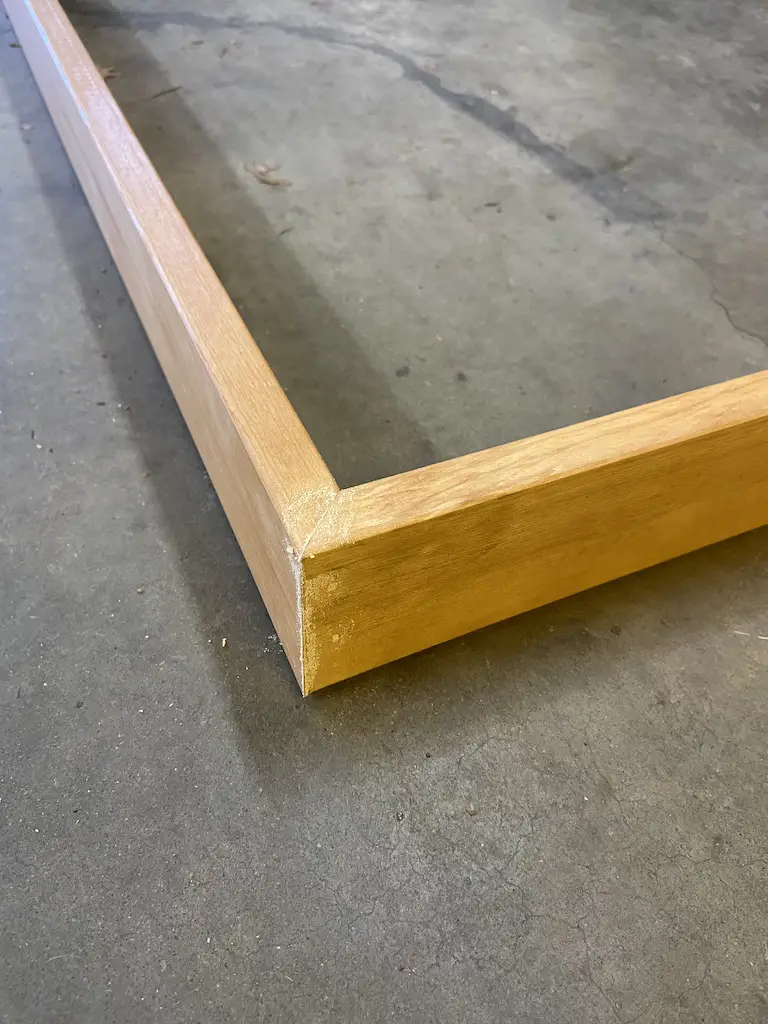
With the help of a square and a finishing nailer, the 1x3s were secured to each other. The holes and joints were filled in with stainable wood filler (that I later stained to match). Finally, I applied a coat of satin wipe-on polyurethane to the whole frame.
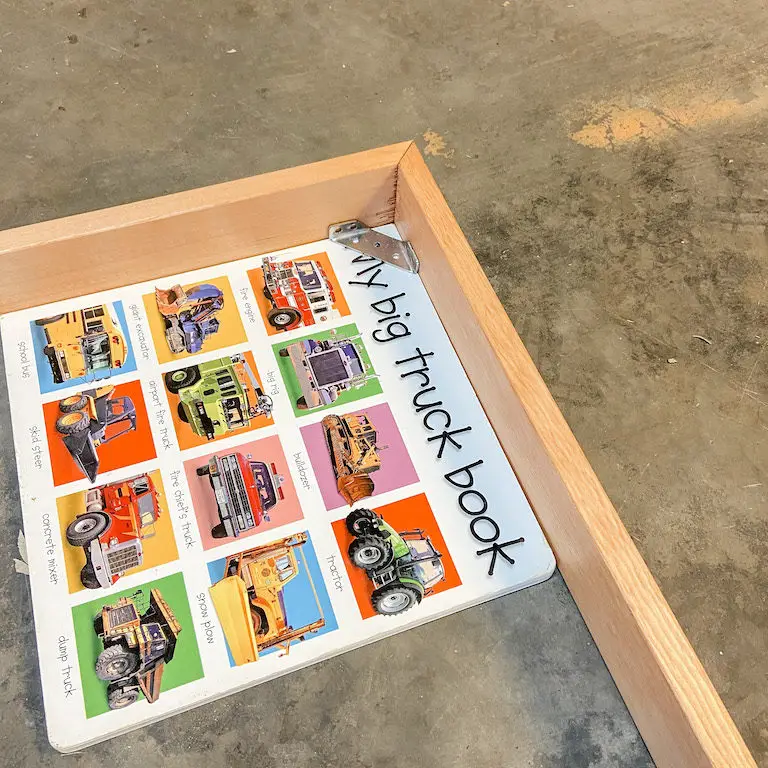
When it came to adding the corner braces, I knew that I didn’t want the canvas to sit all the way back in the frame (I wanted about a 1/2″ lip on the front). So I picked one of my child’s board books and used it as a spacer to shift the braces towards the front of the frame.
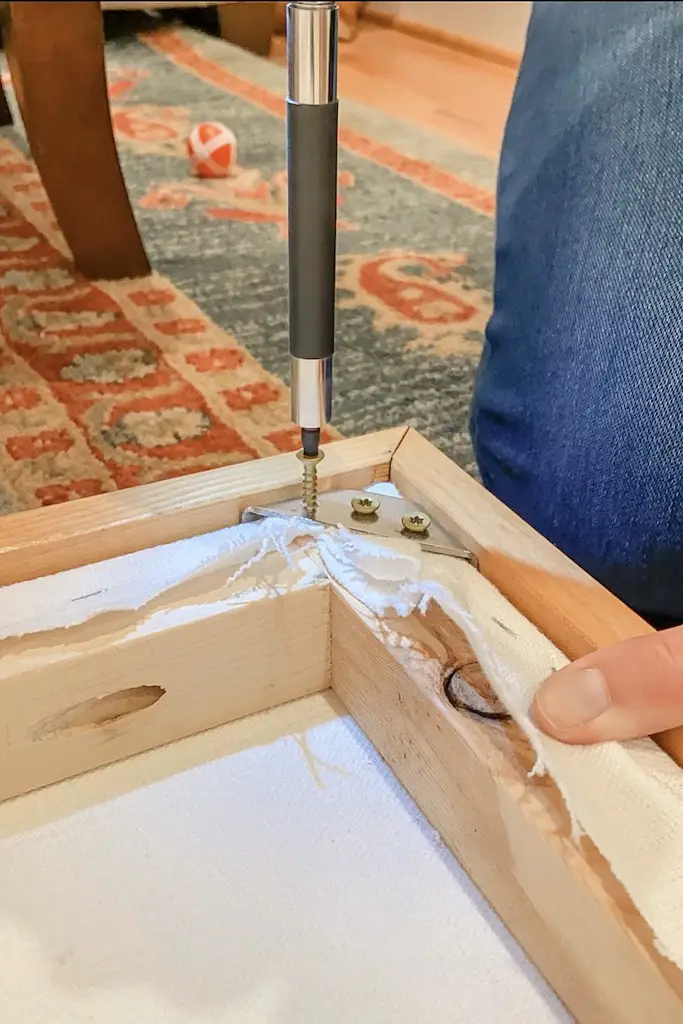
The canvas was then attached to the corner braces using 1″ wood screws.
Hanging the Framed Canvas
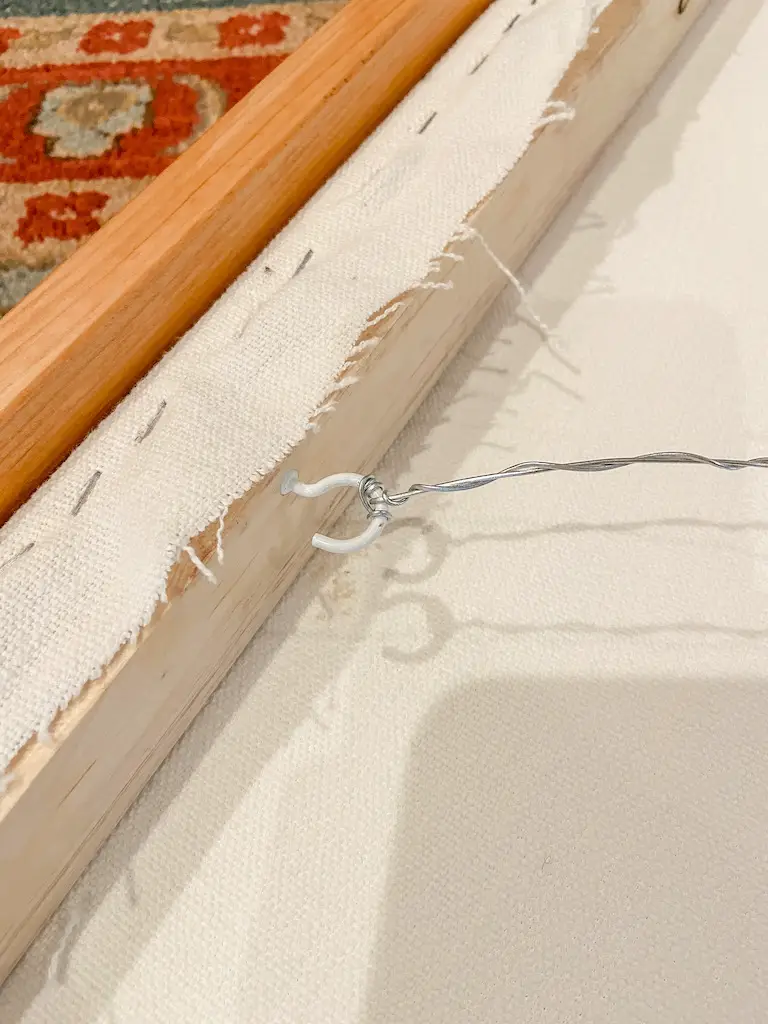
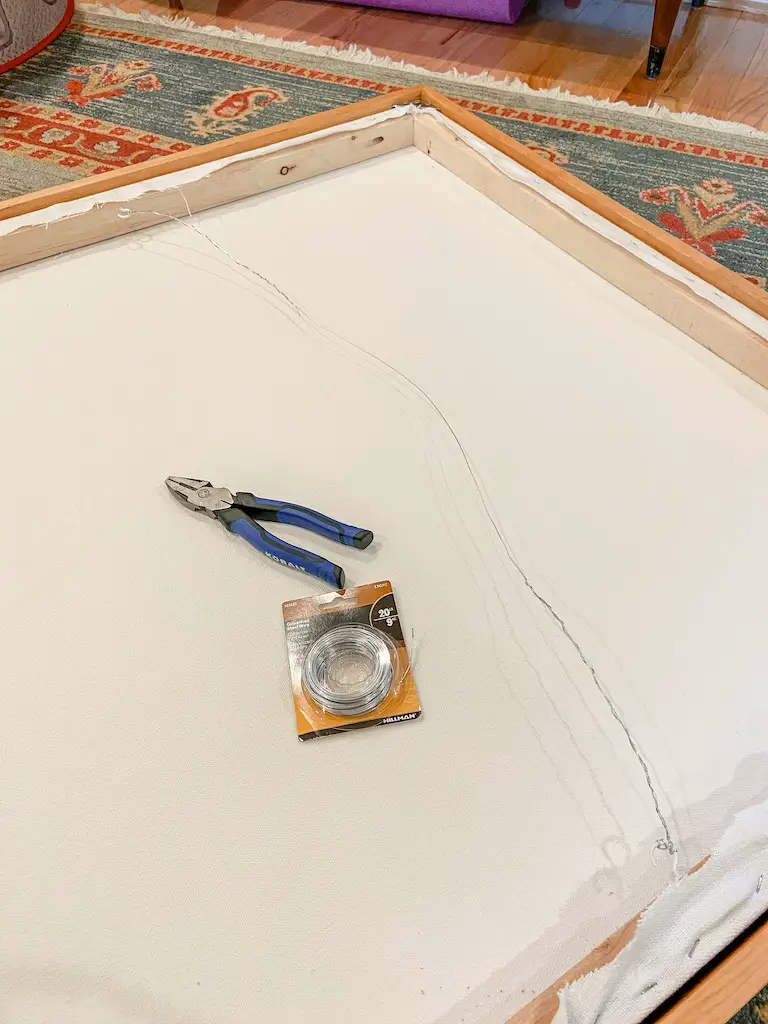
The last bit of construction involved securing some hooks to the inside of the frame from which I could attach some picture-hanging wire. Keeping with my goal of being budget-friendly, I decided to use some excess cup hooks we had in the cabinet. I faced the opening of the hook downward and wrapped the wire around the hook and itself several times. I have zero concern that the wire will slip off!
Finally, we mounted the framed canvas to the wall with a 30lb picture hanging hook. And voila – no more unsightly hole in our living room!
I am super happy with the way the piece turned out and so is Eric (big relief there!). By using some materials and supplies we already had, the total cost of our DIY textured canvas art was right around $90!
DISCLAIMER: This post contains ads and affiliate links. At no additional cost to you, we may receive a commission for purchases made through these links and ads.
