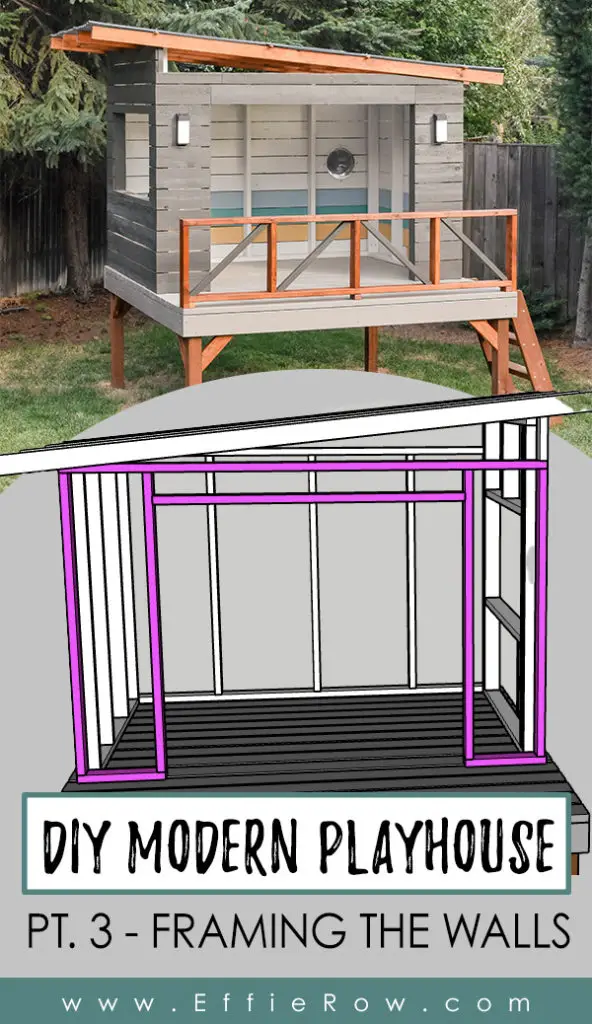
Building the walls of our DIY playhouse was made easier with the help of a my SketchUp Free plans, a cut list, and a Kreg Jig pocket hole system. Oh, and my husband who was eager to help! 😉
DISCLAIMER: This post contains ads and affiliate links. At no additional cost to you, we may receive a commission for purchases made through these links and ads.
After the deck was built and the paint had dried, we moved on to framing the walls of the playhouse. Each of the individual walls was assembled using the Kreg Jig pocket hole system and 2.5″ blue kote screws.
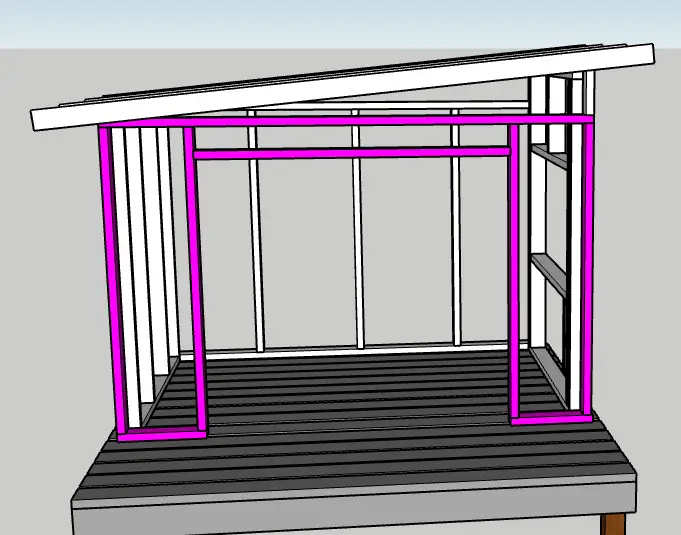
The follows cuts were used to build our playhouse walls:
Front wall (pink):
- 4 – 56″ 2×4 (vertical studs – pocket holes both ends)
- 1 – 88.5″ 2×4 (top)
- 1 – 56.5″ 2×4 (top of entry – pocket holes both ends)
- 2 – 16″ 2×4 (bottom pieces)
Note: When I designed the structure, I planned for the window to face our arborvitaes. But after the deck was in its location, I realized it was best if we had the window on the opposite side – facing a more open area. So you will notice that our final build is the reverse of the 3-D plans below.
DISCLAIMER: This post contains a description of our building process. I cannot make guarantees regarding the safety of this play structure. Before building, please consult with a professional regarding materials and weight limits.
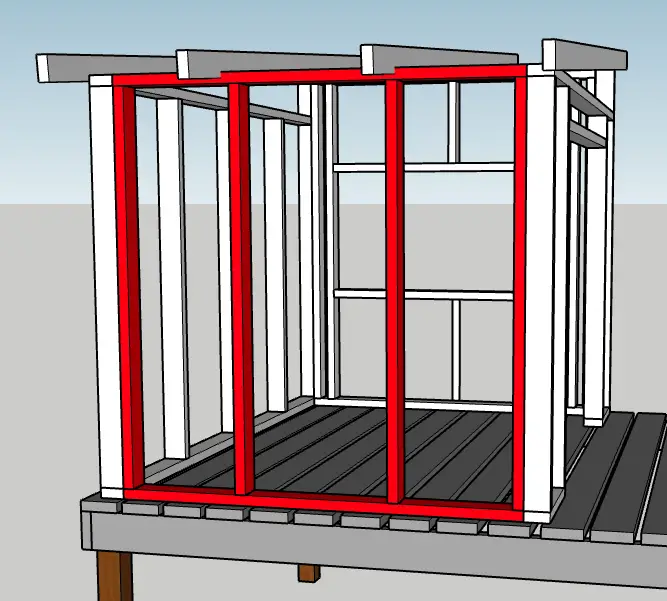
Short side wall (red):
- 4 – 56″ 2×4 (vertical studs – pocket holes both ends)
- 2 – 57″ 2×4 (top and bottom pieces)
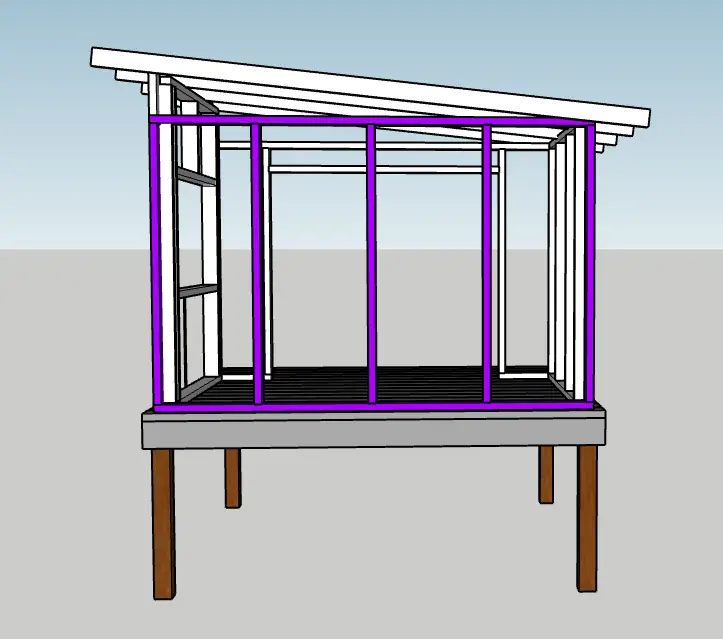
Back wall (purple):
- 5 – 56″ 2×4 (vertical studs – pocket holes both ends)
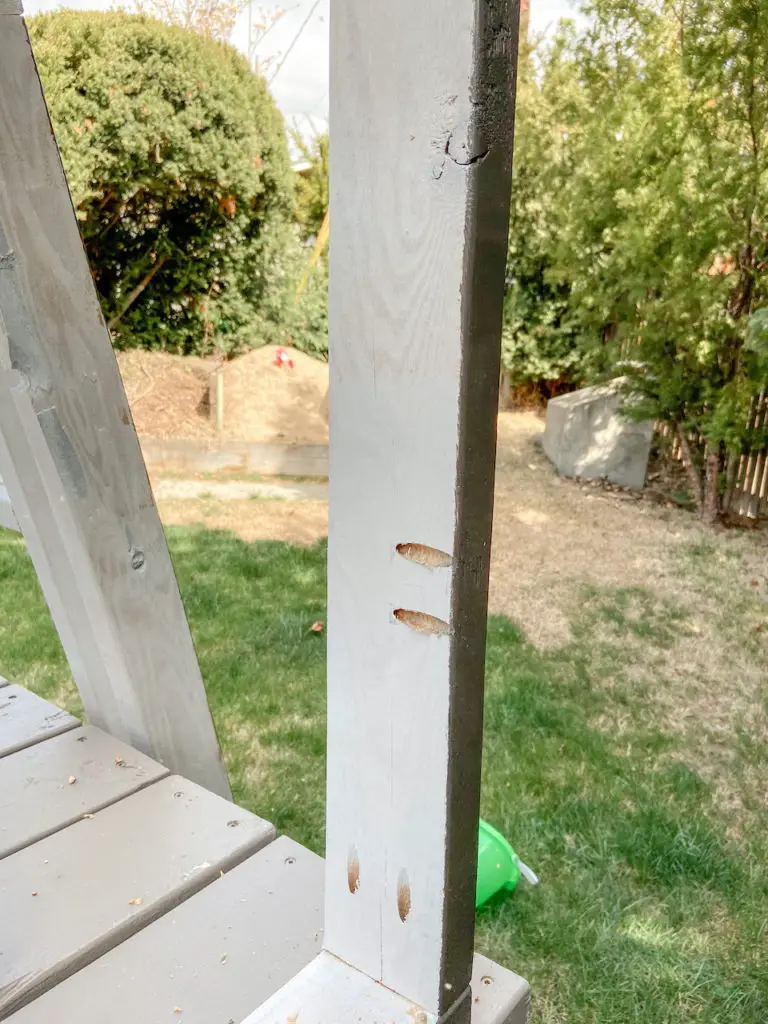
- On one end – drill 4 to 6 pocket holes perpendicular to the length of the board. These will be used to attach the purple/back wall to the green/window wall.
- 2 – 88.5″ 2×4 (top and bottom of wall)
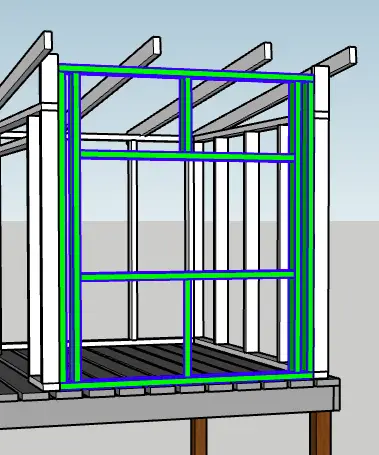
Tall side wall with window (green):
- 4 – 64″ 2×4 (vertical studs – pocket holes both ends)
- 2 – 52″ 2×4 (top and bottom of wall)
- 2 – 48″ 2×4 (top and bottom of window – pocket holes both ends)
- 1 – 21″ (vertical support below window – pocket holes both ends)
- 1 – 16″ (vertical support above window – pocket holes both ends)
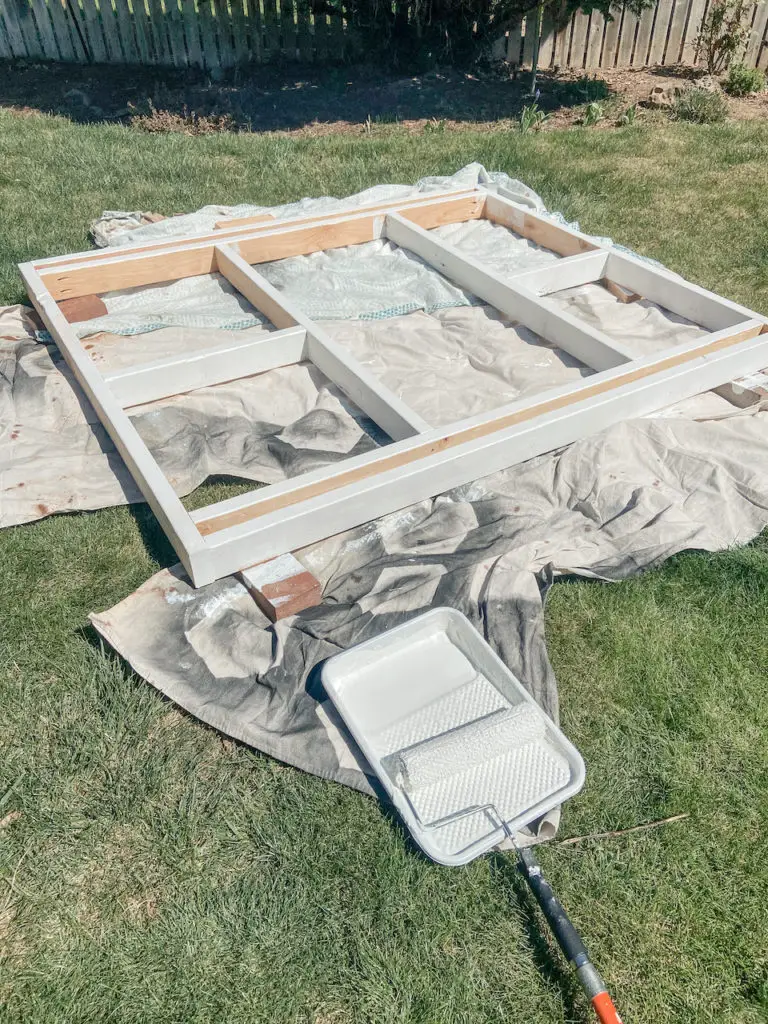
After each wall was assembled, but before they were attached to each other, I did my typical OCD thing and primed the frames. This was mostly to save time when it came to painting the inside of the playhouse. I also put the first coat of the exterior paint on one side. I really do think this process saved me time and headache in the long run. It was much quicker to take a roller to the frames vs. having to use a paintbrush once the siding was on.
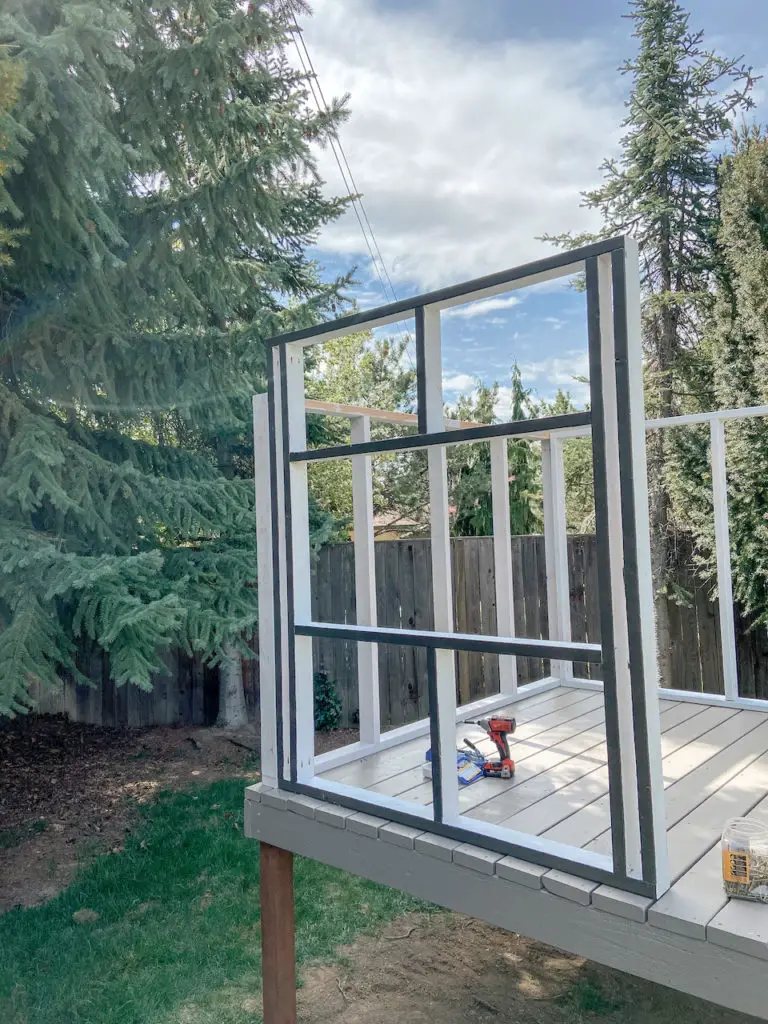
Next, we lifted the walls onto the deck and attached them to each other with 2.5″ decking screws (with the exception of the purple and green wall which were attached with the pocket holes and Kreg Jig screws. After the structure was centered in place (leaving ~1.5 inches on the back of the deck to accommodate the thickness of the siding), we attached it to the deck with decking screws. Then we moved on to installing the roof and siding.
