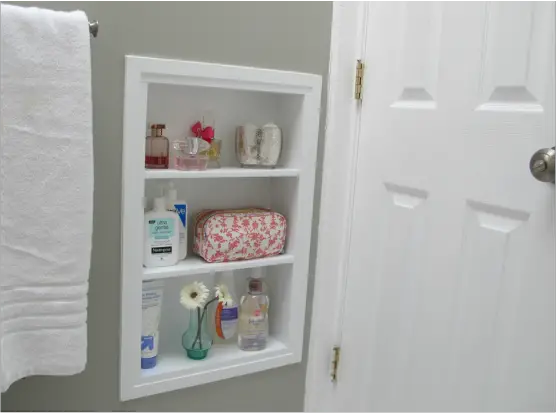
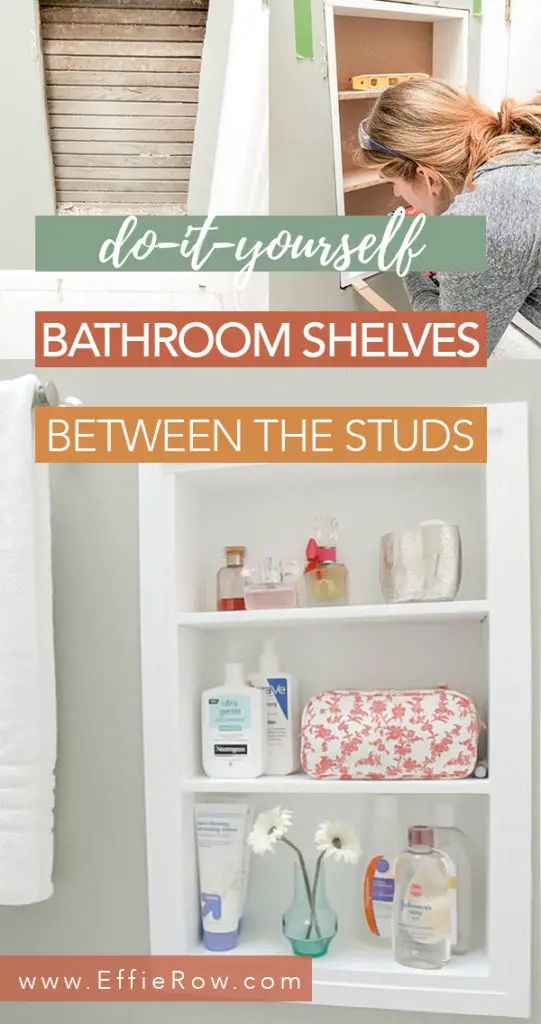
DIY built-in shelves between the studs were perfect for our small bathroom. We installed the shelves behind the door for a discrete storage solution.
DISCLAIMER: This post contains ads and affiliate links. At no additional cost to you, we may receive a commission for purchases made through these links and ads.
My upstairs bathroom is itty bitty. And it has an itty bitty vanity and sink to match. So storing toiletries and other essentials has always been a challenge.
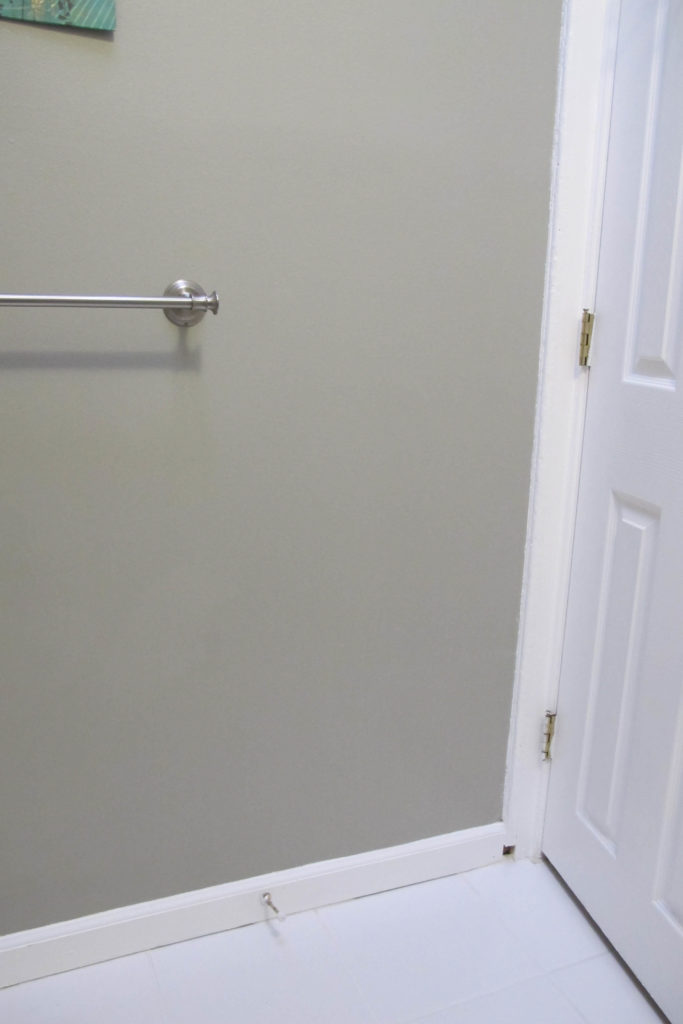
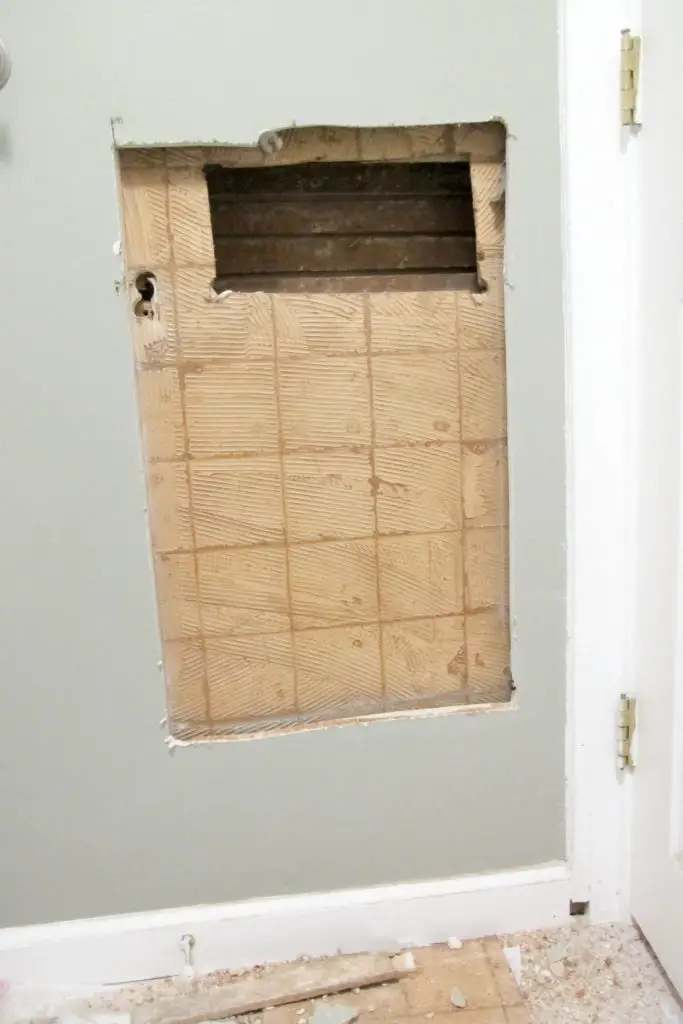
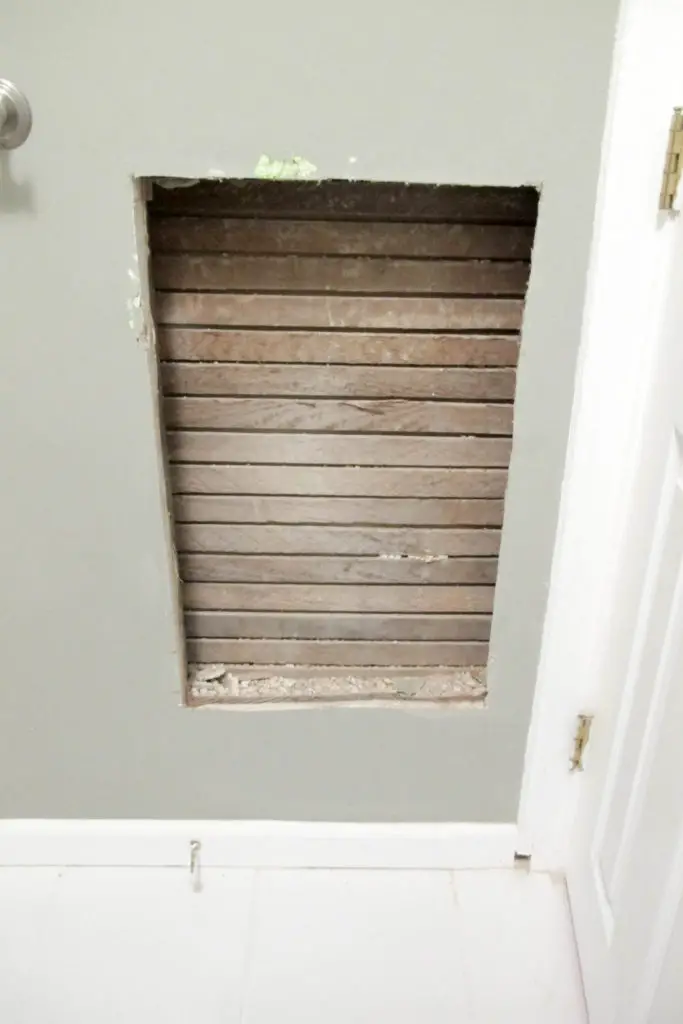
I plan to one day build a new custom vanity and increase my storage and countertop space, but in the meantime I decided to try my luck at building and installing some built-in shelves. I had been eyeing up a spot behind the door for sometime, and after a stud finder gave us the go-ahead, we started to cut away at the drywall. Only we quickly realized that we had more than just drywall to cut away…
After cutting through the drywall (and another old board which tile had once been attached to) we took it one step further and chopped out the slats as well. What we ended up with was over 5″ of depth for a built in cabinet! (so then that totally made me wonder how much valuable, yet unused, space was lurking in the rest of my old rowhome’s walls).
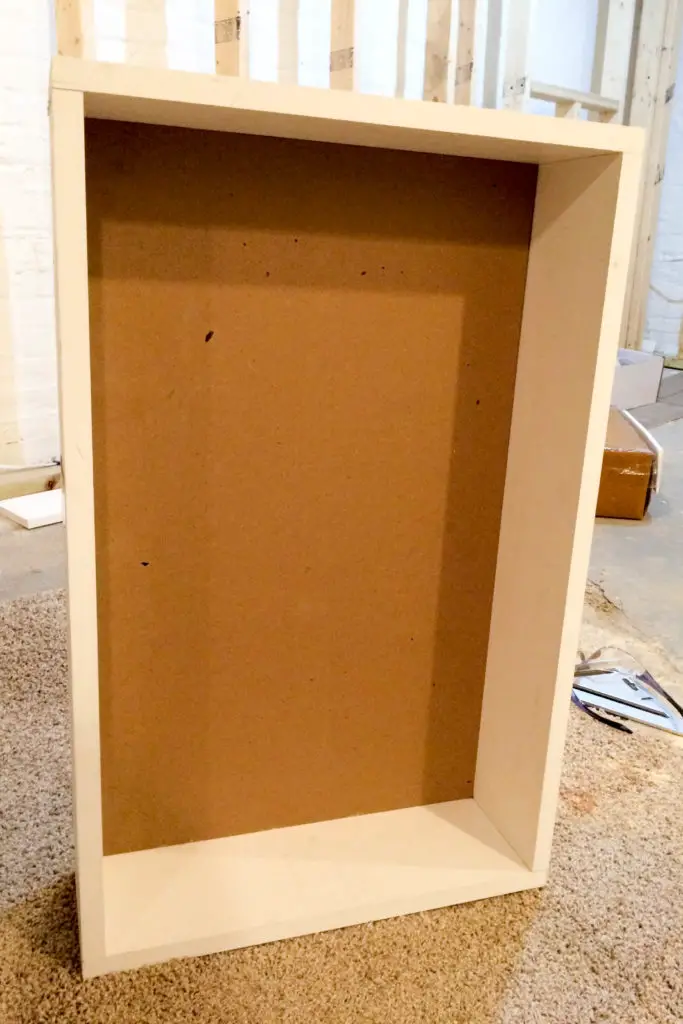
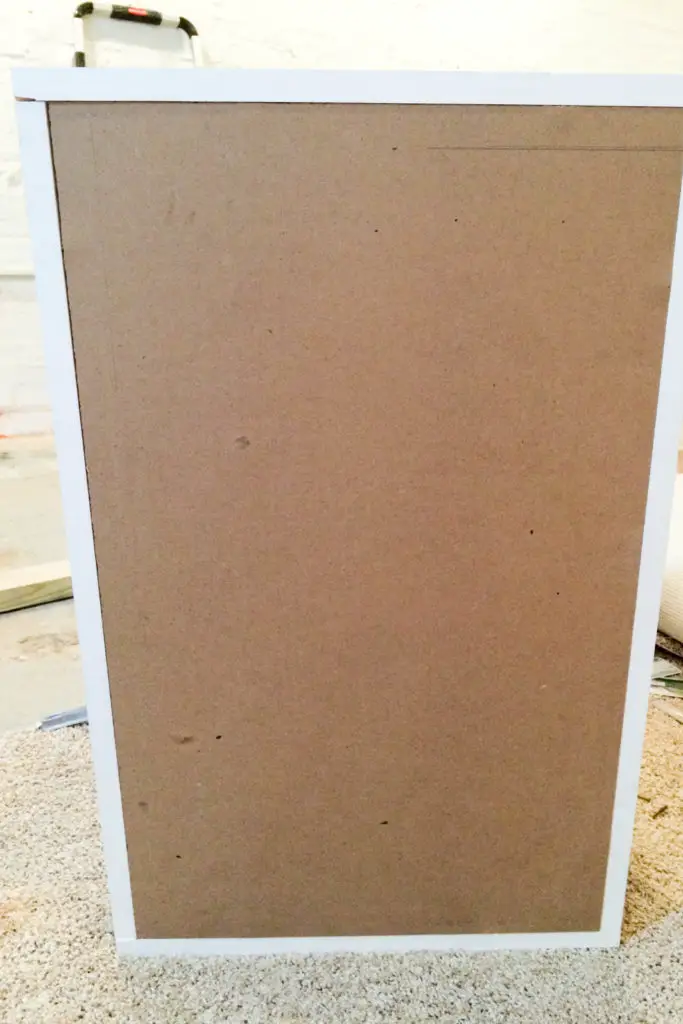
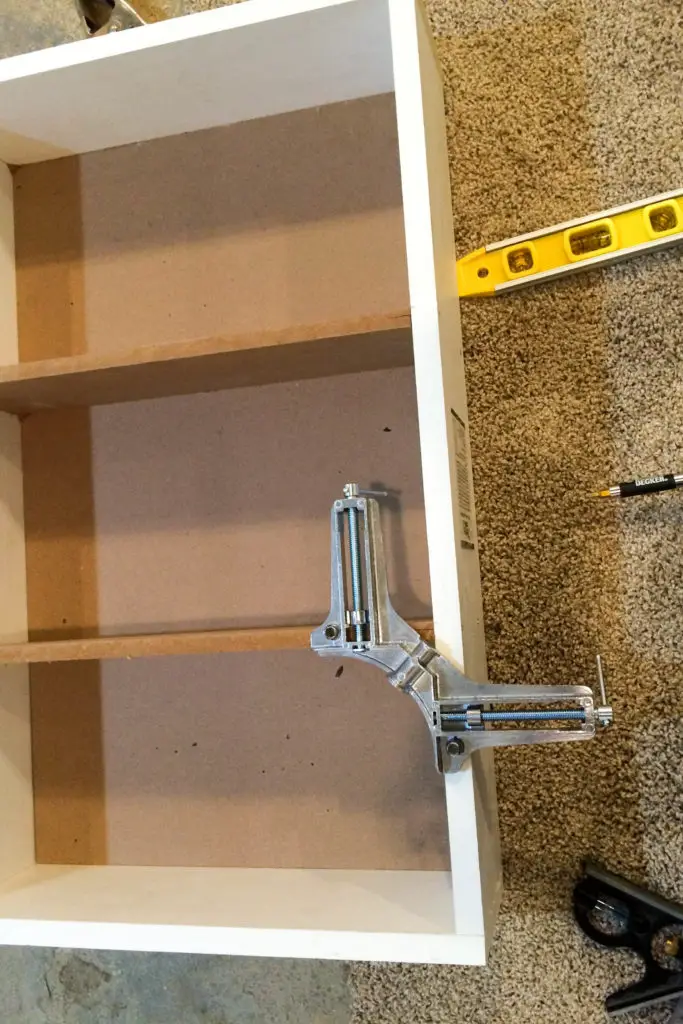
Building the shelving unit was actually the quickest part of the process. After measuring the shortest dimensions of our opening (which would then become the height and width), the frame was built out of pre-primed particle board and the backing and shelves were built out of MDF board.
Next, we wedged our new cabinet into place. To secure the cabinet, we located the nearest vertical studs and built them out with pieces of 2x4s and shims. So we now had flush surfaces on either side of the cabinet that we could drill into. We used more shims to get a level placement, and then drilled decking screws through the sides of the cabinet into the adjacent 2x4s.
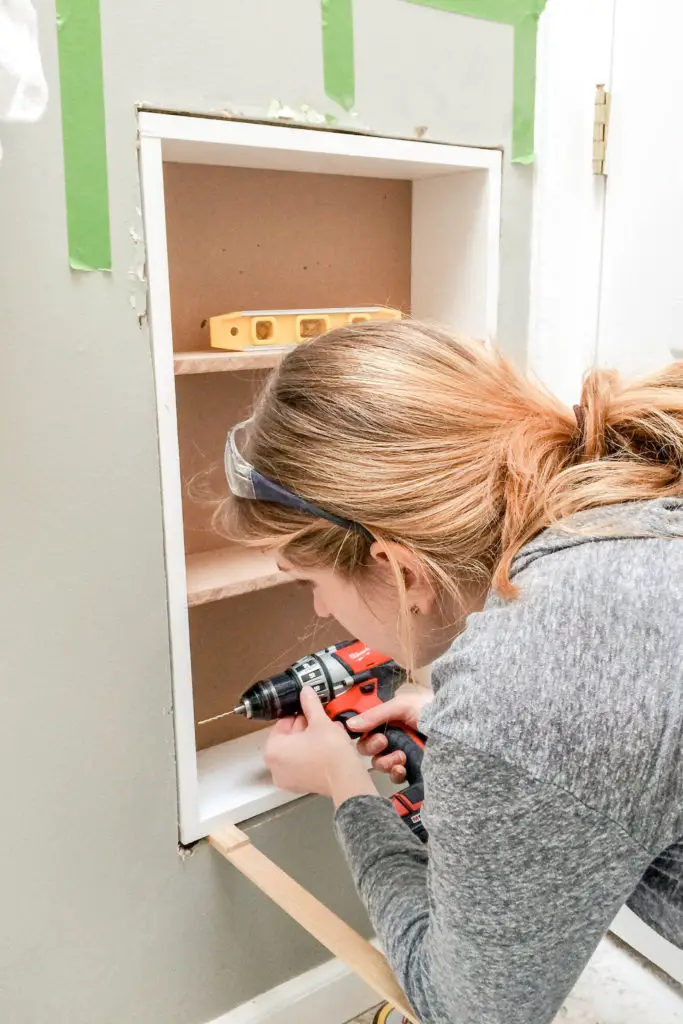
After the cabinet was installed, the remaining steps involved patching the screw holes, caulking the seams, and painting the unit. We also had to cover the gaps between the cabinet and the wall. I had planned for this, and we used simple screen door molding which also gave the cabinet a more ‘robust’ and finished look.
